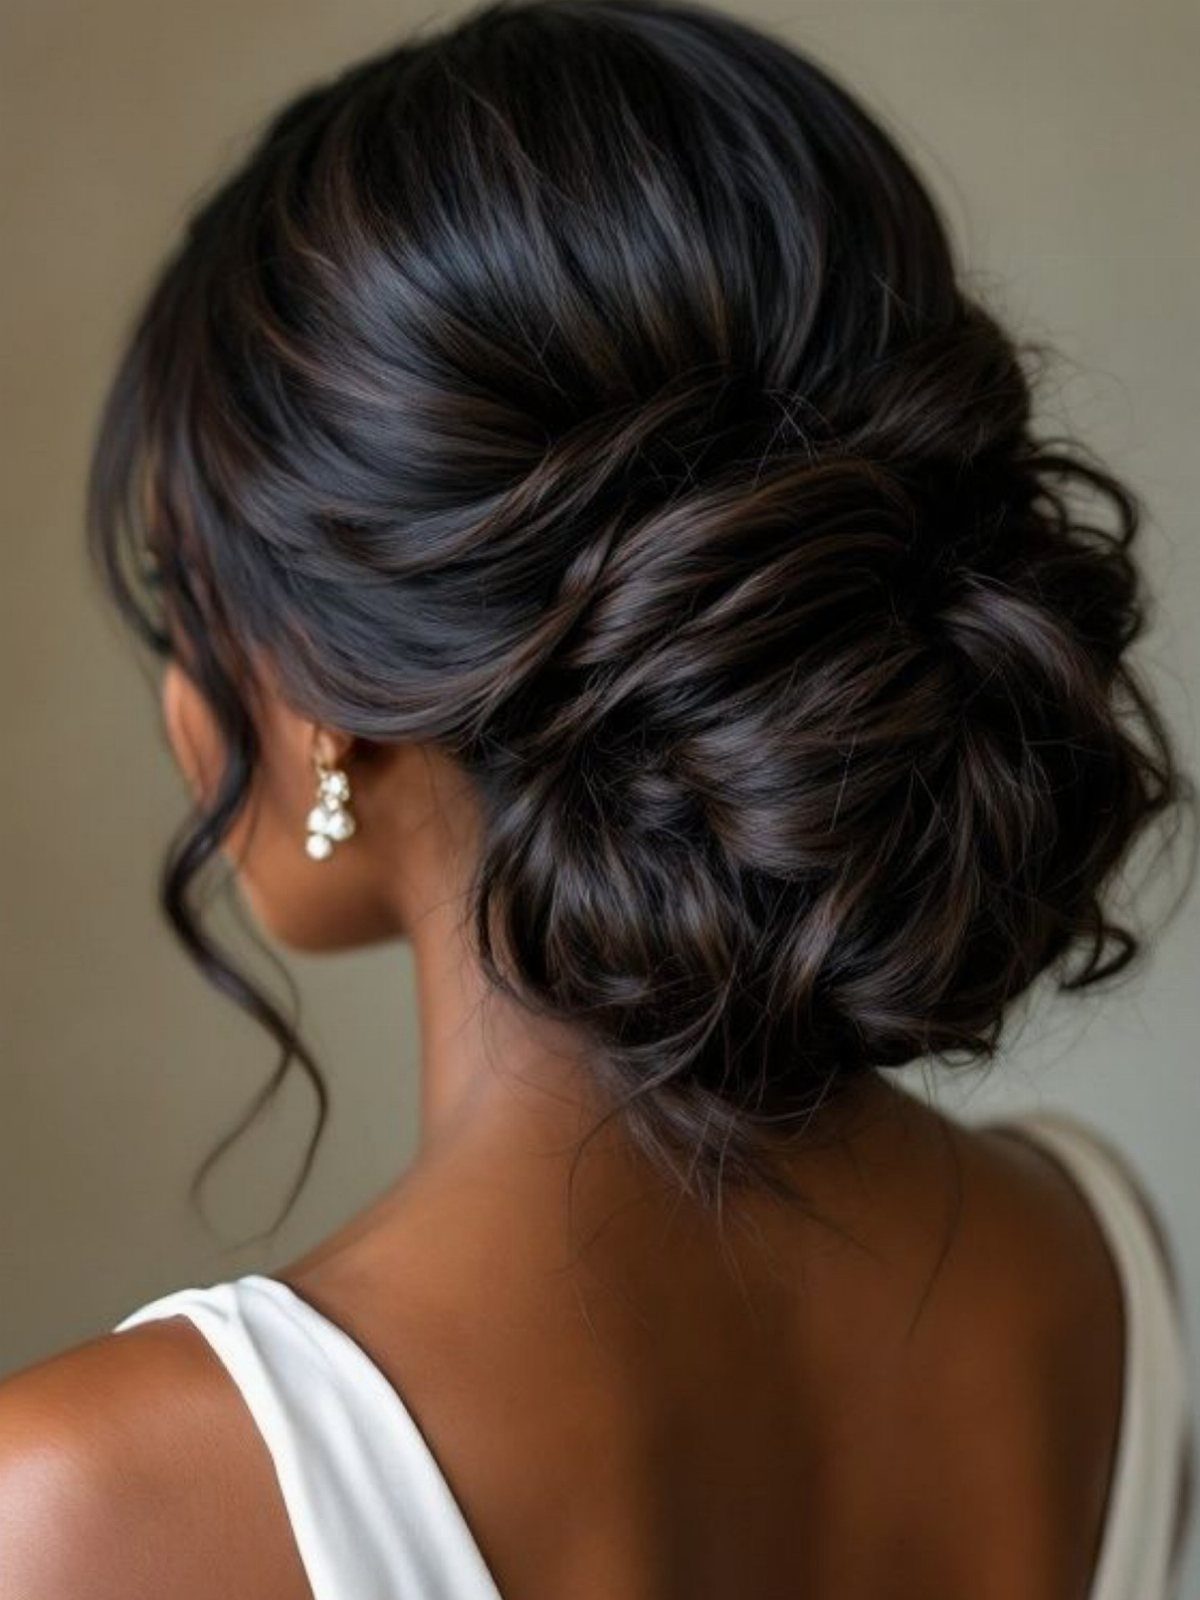
A low messy bun for a wedding can hold through a full ceremony and reception once pinned in three places, or it can need a friend’s help for 20 minutes to build volume evenly at the back.
The right one depends on whether you want visible braided structure, scattered pearl pins, fresh flowers tucked into the base, or a polished twist that catches the light.
Most of these styles work on second-day hair when the texture has some grip, and the ones that need smooth sections take a light styling cream and a brush before you gather the hair at the nape.
1. Messy Low Bun
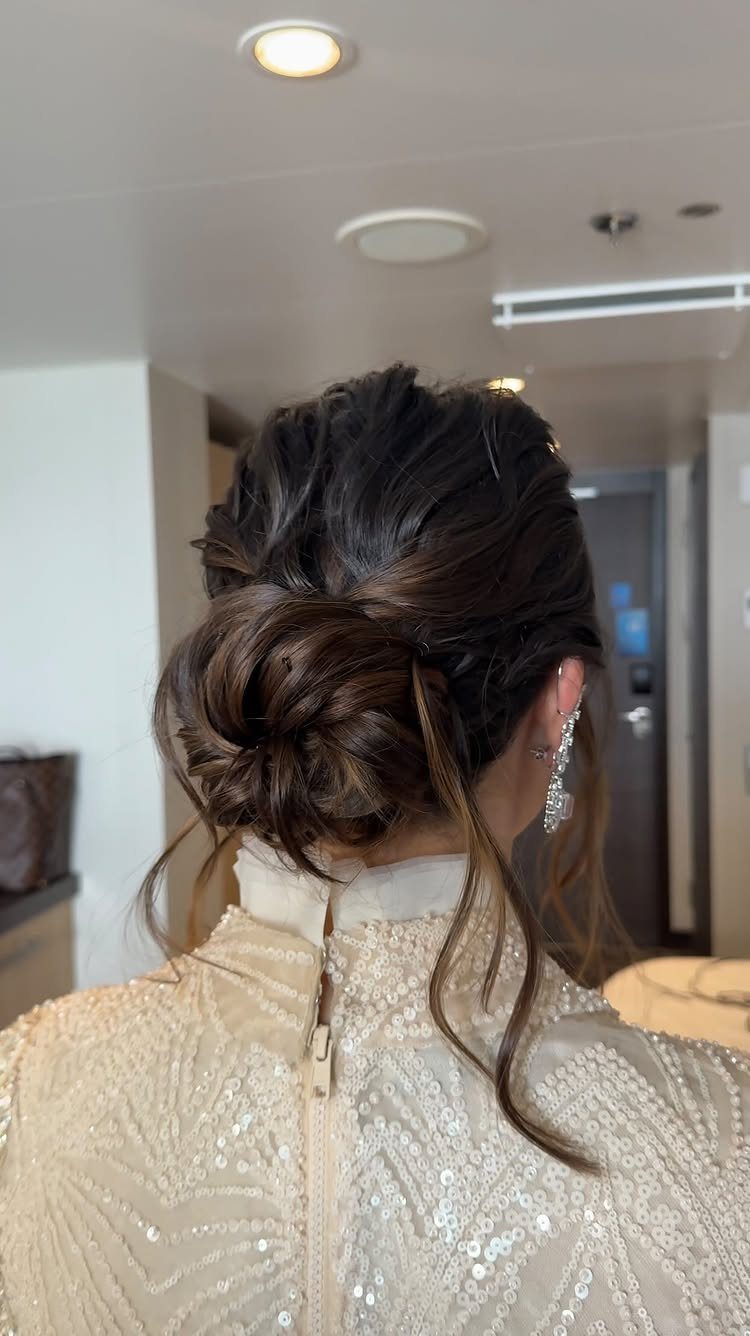
A low bun gathered loosely at the nape, with strands pulled out for texture and a few pieces left around the face. It reads relaxed without looking undone.
Start by curling the hair first if it is straight, then gather it low and secure it with an elastic.
Twist sections loosely and pin them around the base, leaving the ends free or tucking them loosely. Pull a few pieces out with your fingers to soften the shape, and leave face-framing strands down or tuck them behind the ears.
It works on medium or long hair and holds through a full day once you have practiced it twice.
2. Soft Elegant Low Bun
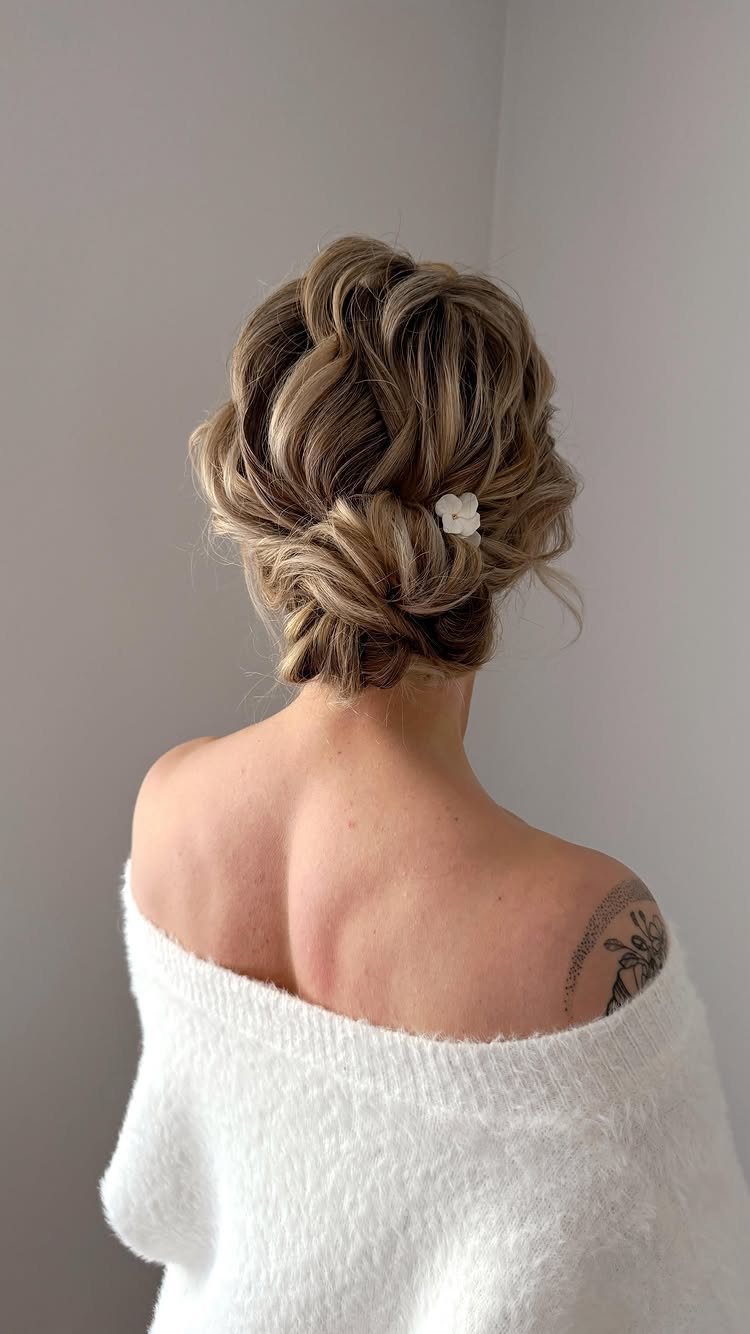
A low bun with smooth sections and soft texture, polished enough for a formal event but still relaxed. The strands around the face stay loose and the bun itself sits just above the nape.
Smooth the hair back with a brush and a light styling cream, then gather it low and twist it into a bun, securing it with pins.
Pull out a few pieces near the temples and around the face to soften the line. A small flower clip or pearl pin keeps it formal without adding much.
It suits fine or medium hair and holds well with a light hairspray.
3. Low Bridal Bun
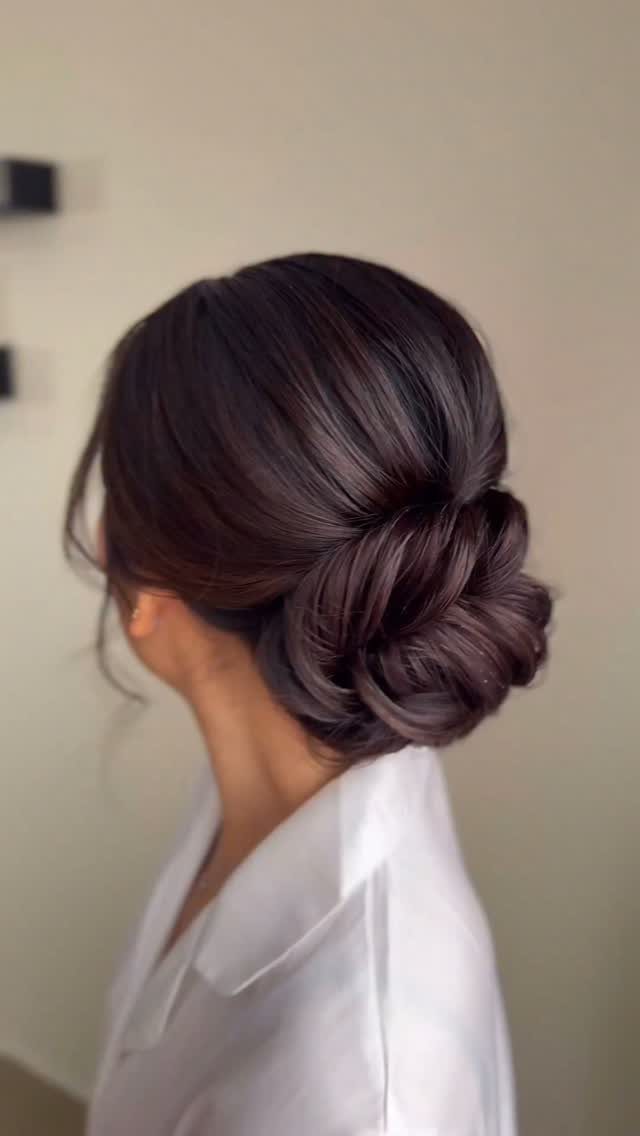
This one sits low and full, with the hair smoothed back on top and the bun built with volume at the sides. It is polished enough for a ceremony and traditional in shape.
Tease the hair at the crown for lift, then brush it back and gather it low. Finish with hairspray to hold the shape through the day.
It works best on thick or medium hair and takes 20 minutes with a friend helping to pin the back sections evenly.
4. French Lace Braid Low Bun
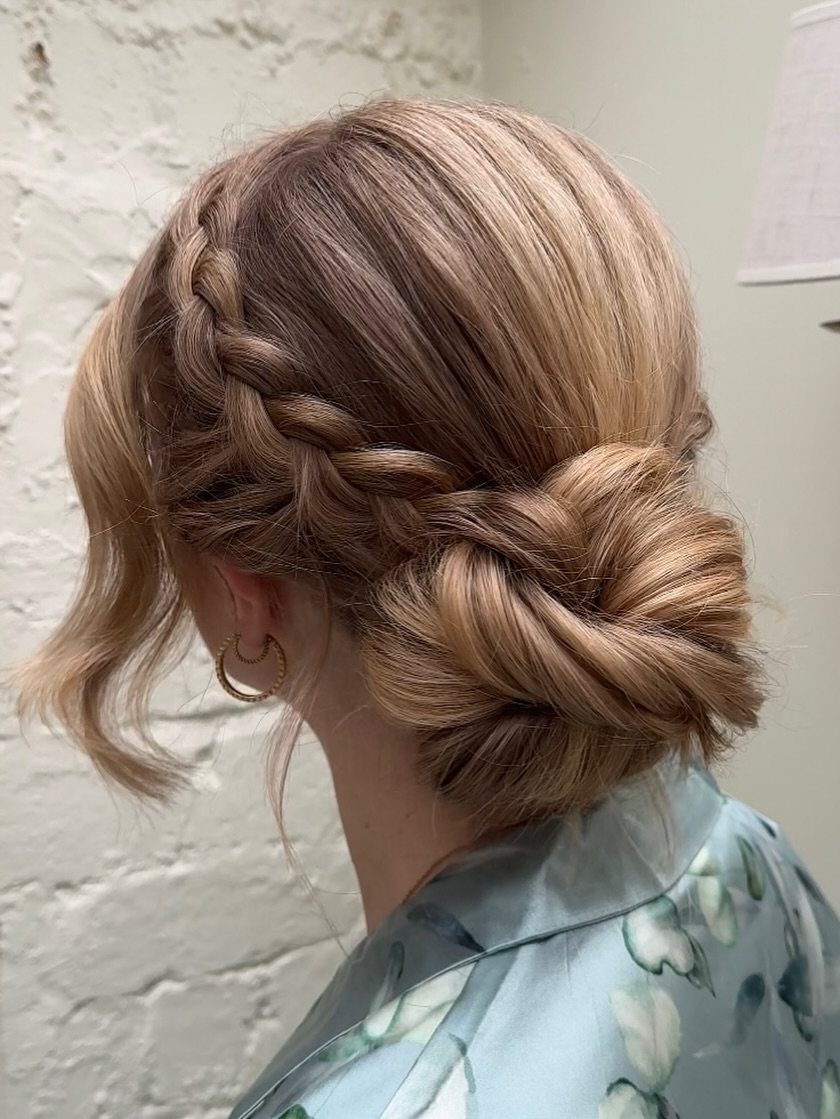
A low bun paired with a braid that runs along one side, woven close to the scalp. The braid adds structure and the bun keeps the rest soft.
Start the braid at the temple or just behind the ear, working it down toward the nape in a lace style by adding hair only from the top side.
Gather the rest of the hair into a low bun and secure it with pins, then wrap the end of the braid around the base or tuck it into the bun.
It holds well on second-day hair and stays secure through the ceremony and reception once the braid technique is familiar.
5. Deconstructed Messy Bun
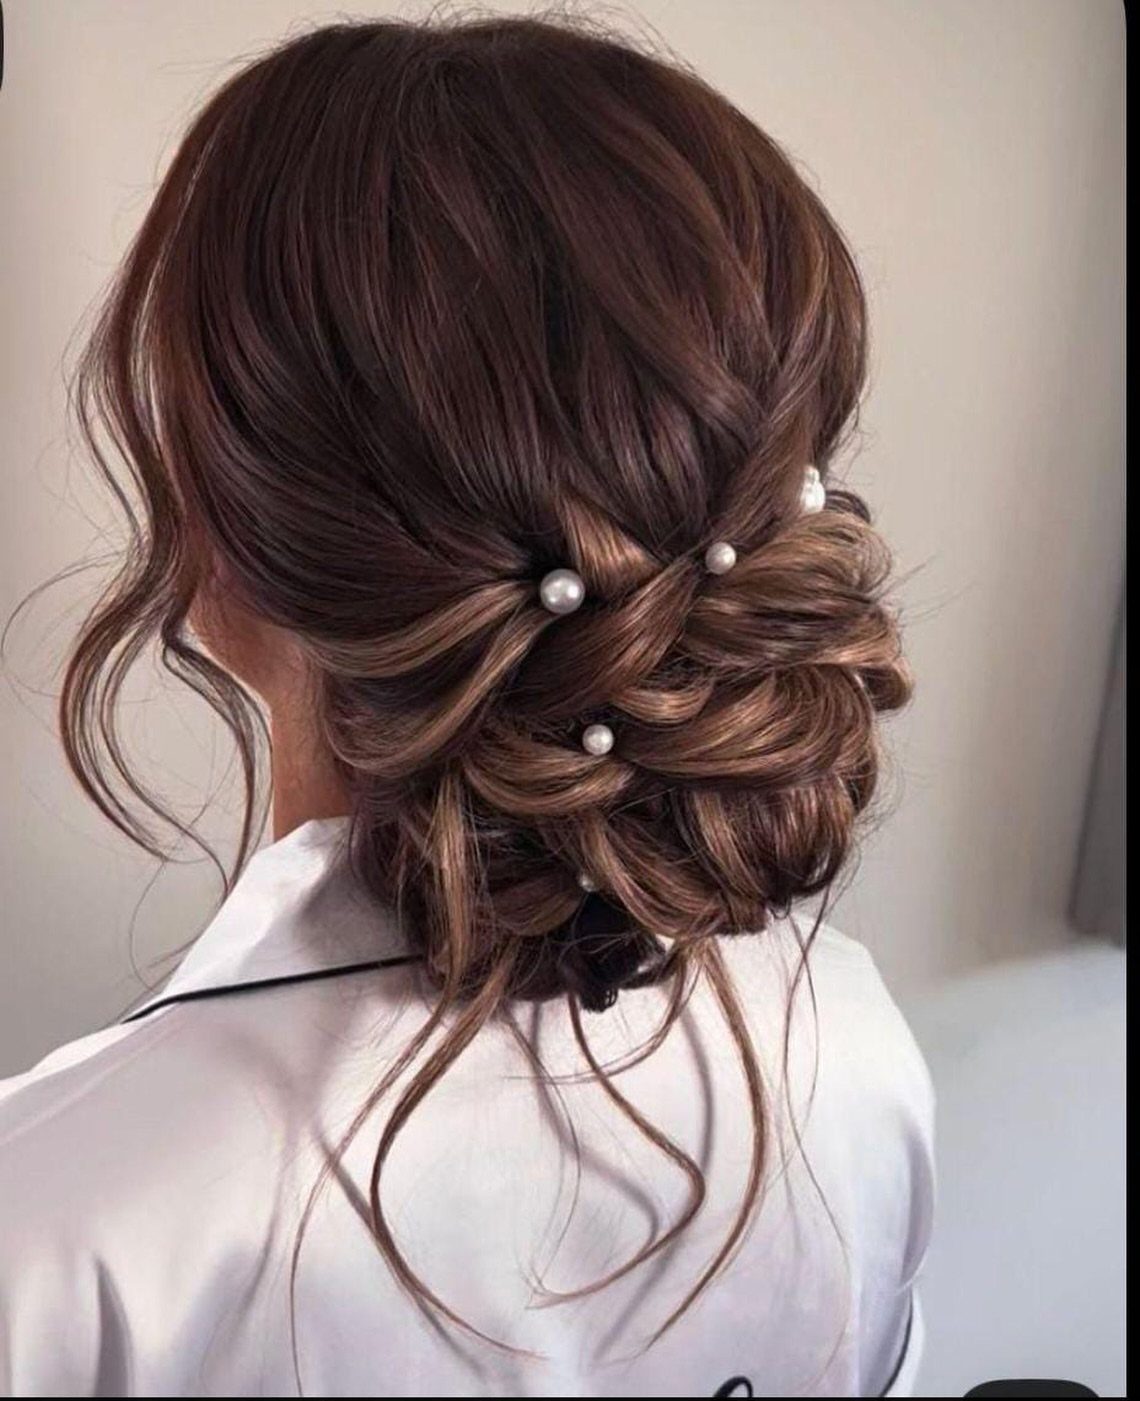
Loose sections twisted and pinned low, with pearl pins scattered through the bun for detail. The finish is intentionally undone, with pieces pulled out and ends left visible.
Gather the hair loosely at the nape and twist it into a bun without pulling it tight.
Pin sections in place and leave some ends sticking out. Add small pearl pins wherever the bun needs more hold or decoration, spacing them unevenly for a natural look.
The pearls stay put with bobby pins underneath them. It suits medium or thick hair.
6. Glossy Twisted Low Chignon
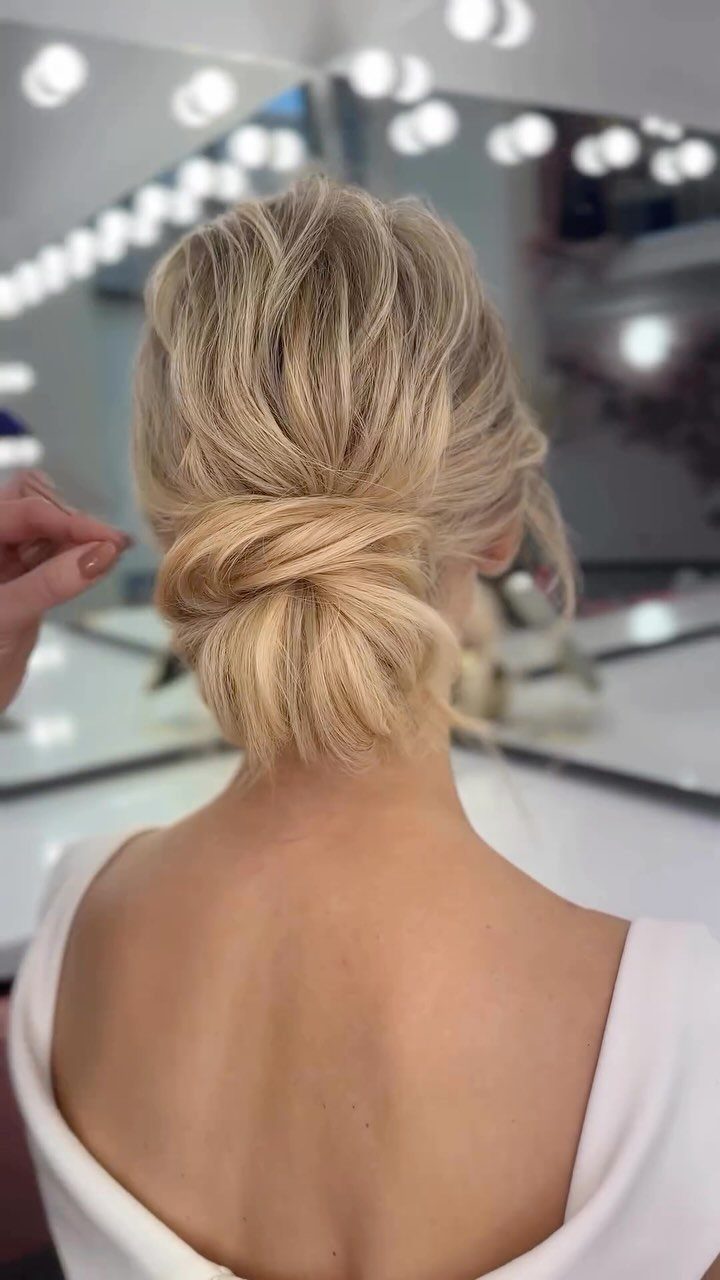
Sections of hair twisted individually and pinned into a low bun, creating a textured, voluminous shape. The finish is glossy and structured, with each twist visible.
Start by dividing the hair into sections, twist each one tightly, then coil it and pin it at the nape.
Overlap the twists to build the bun outward and secure each one with 2 pins. Smooth the top with a brush and finish with a shine spray or lightweight oil to catch the light.
It works best on thick hair and holds for hours without resetting.
7. Twisted Low Bridesmaid Bun
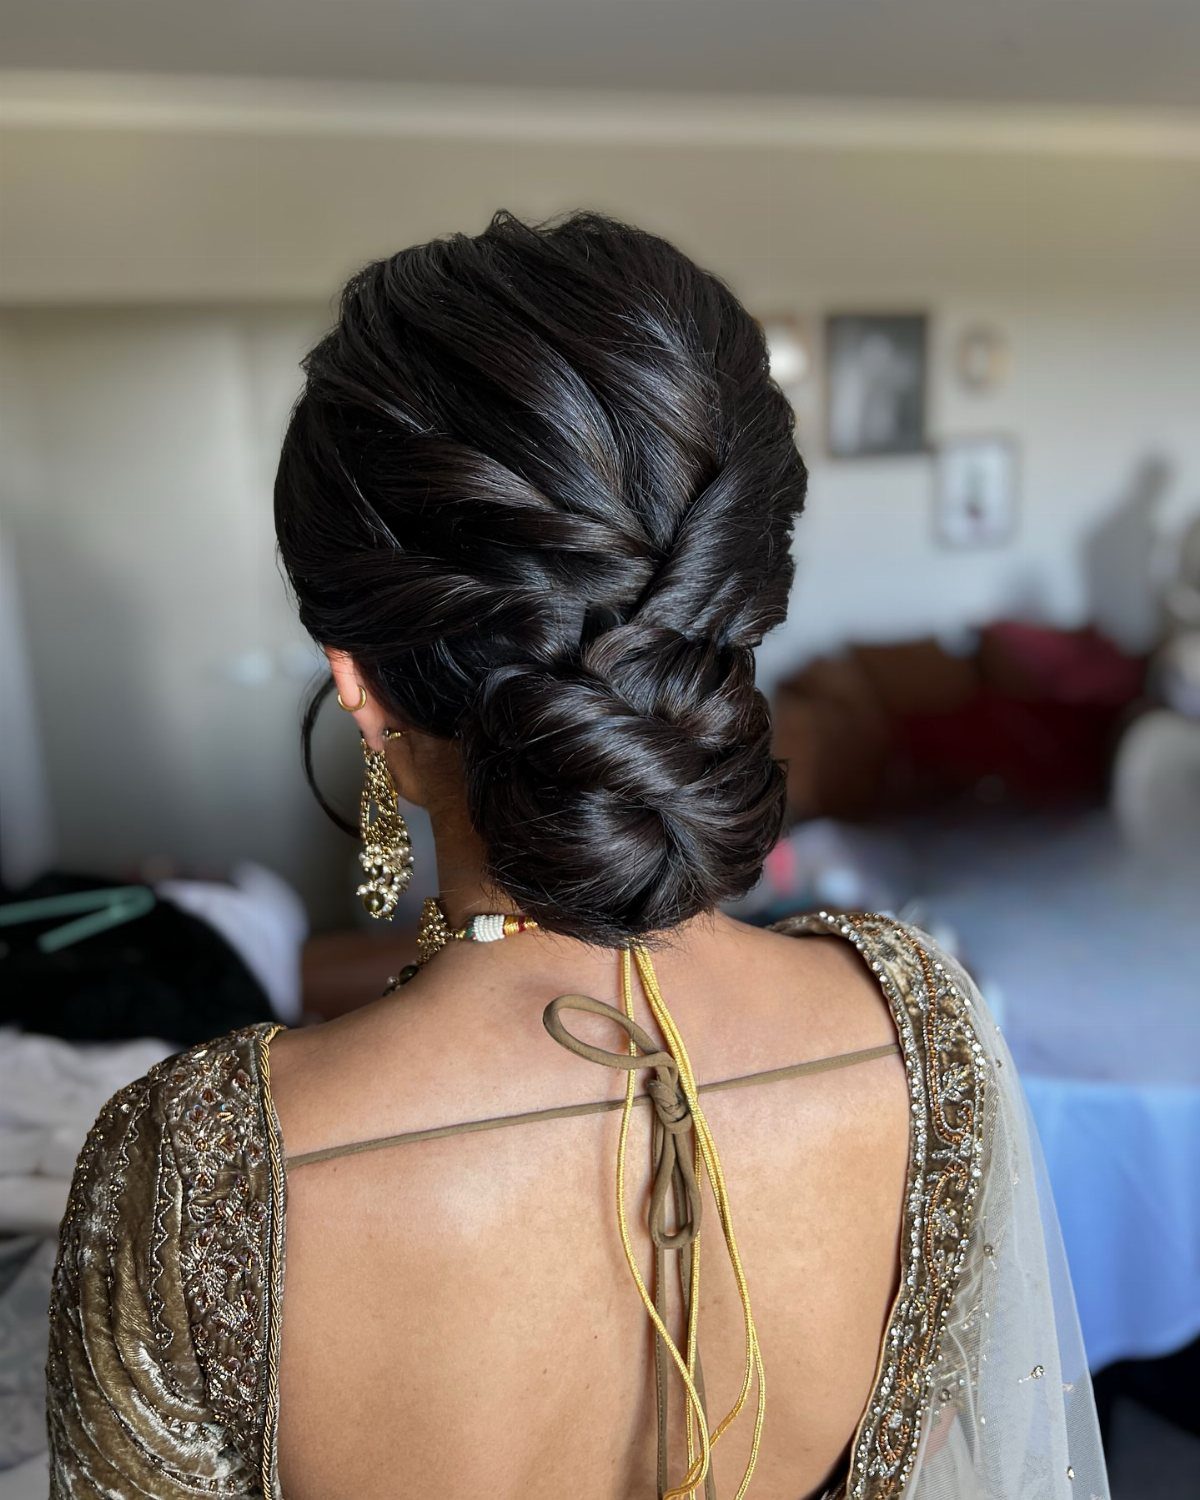
Individual sections twisted smooth and pinned at the nape, building a bun that sits low and structured. The twists overlap to create volume and catch the light.
It holds through a full day and looks matched across a wedding party when everyone follows the same twist direction.
8. Pearl-Clip Low Bun
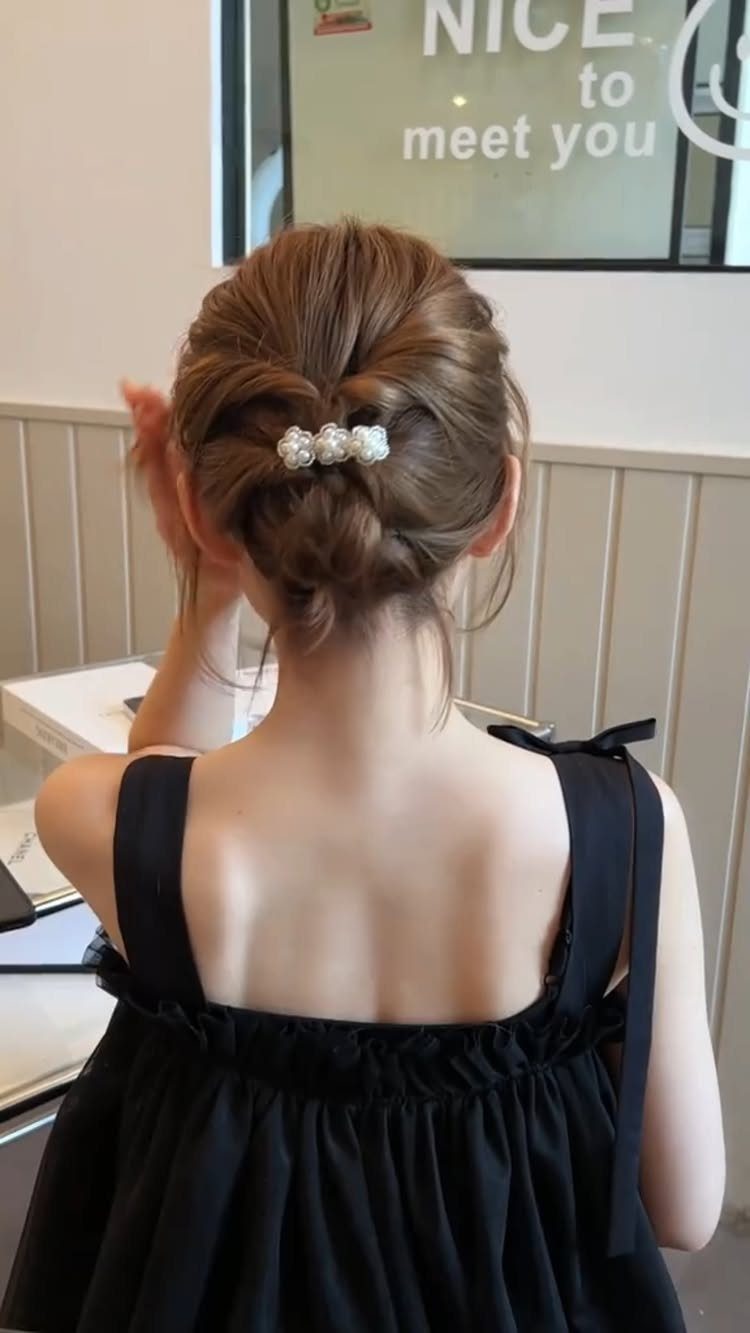
A textured low bun worn with a pearl-beaded hair clip placed at the base. The pearls sit against the brown hair and the bun keeps its loose shape.
Slide the clip in vertically where the bun meets the head, pushing it through the elastic and into the hair underneath so it stays put through movement.
The clip adds detail without competing with earrings.
9. Beaded-Earring Low Bun
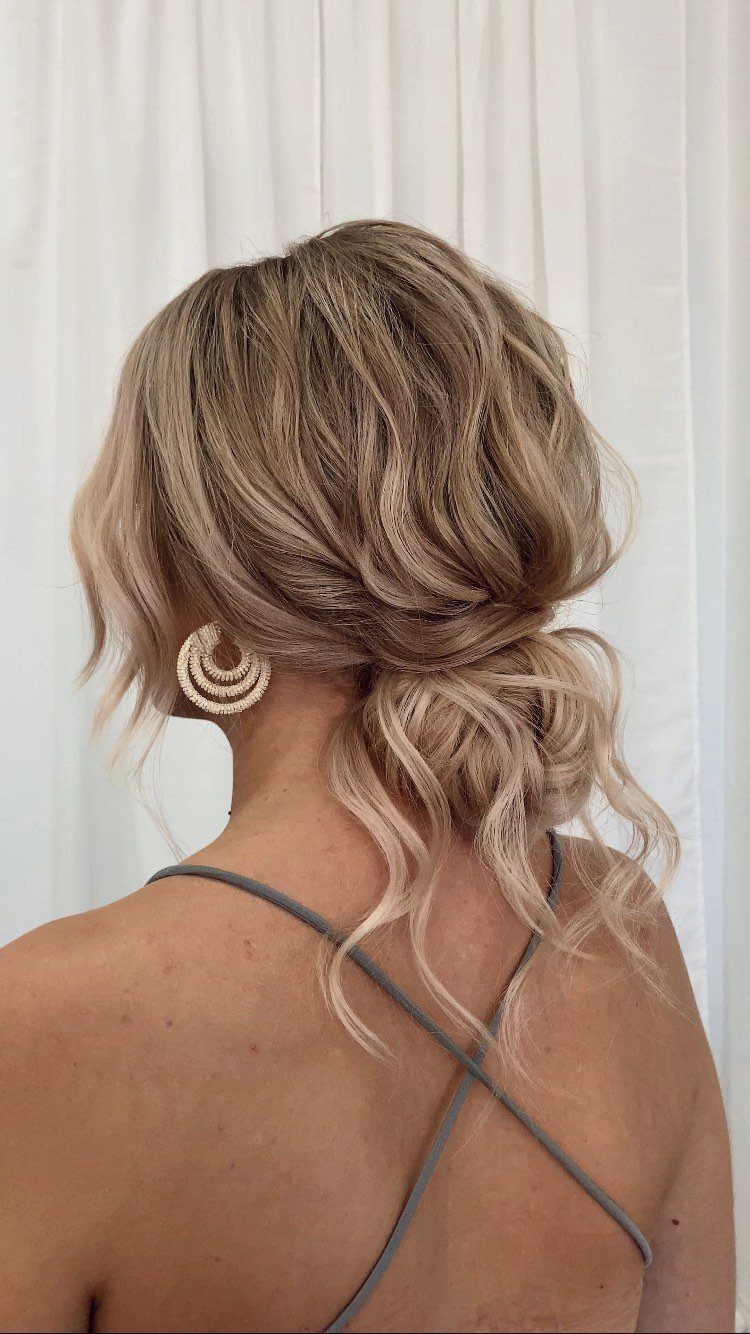
A loose low bun with blonde wavy strands left out around the face, styled with large beaded hoop earrings that frame the neck. The earrings become the focal point once the hair is pulled back.
Pin the bun loosely at the nape and leave tendrils down at the temples and along the jawline.
Curl the tendrils with a small barrel if the hair is straight, then separate the curls with your fingers so they stay soft.
The earrings need space to show, so keep the bun flat against the head rather than building it outward.
The same loose chignon that keeps strands out of your face by day also gives you a sexily disheveled vibe by night. Plus, if you’re in your healthy hair era, messy buns require little to no heat to achieve.
— Hair.com
10. Textured Swirl Bun
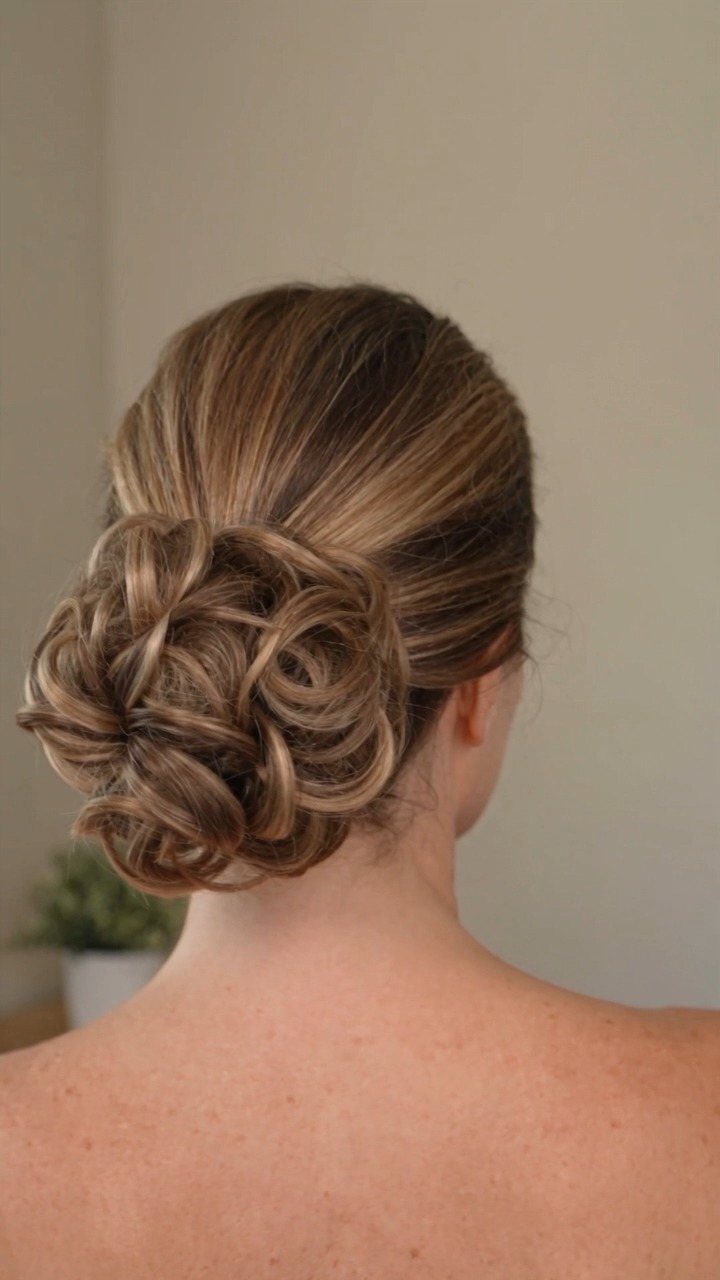
Loose curls twisted and pinned into a low bun with visible texture and movement. The sections swirl around each other rather than lying flat, giving the bun dimension.
Curl the hair first with a curling iron, then gather it low and twist small sections loosely before pinning them.
Let the curls overlap and cross rather than smoothing them down, and pull a few pieces out at the edges to soften the shape.
It suits thick or coarse hair and holds better on second-day hair when the curls have some grip.
11. Pearl-Earring Low Bun
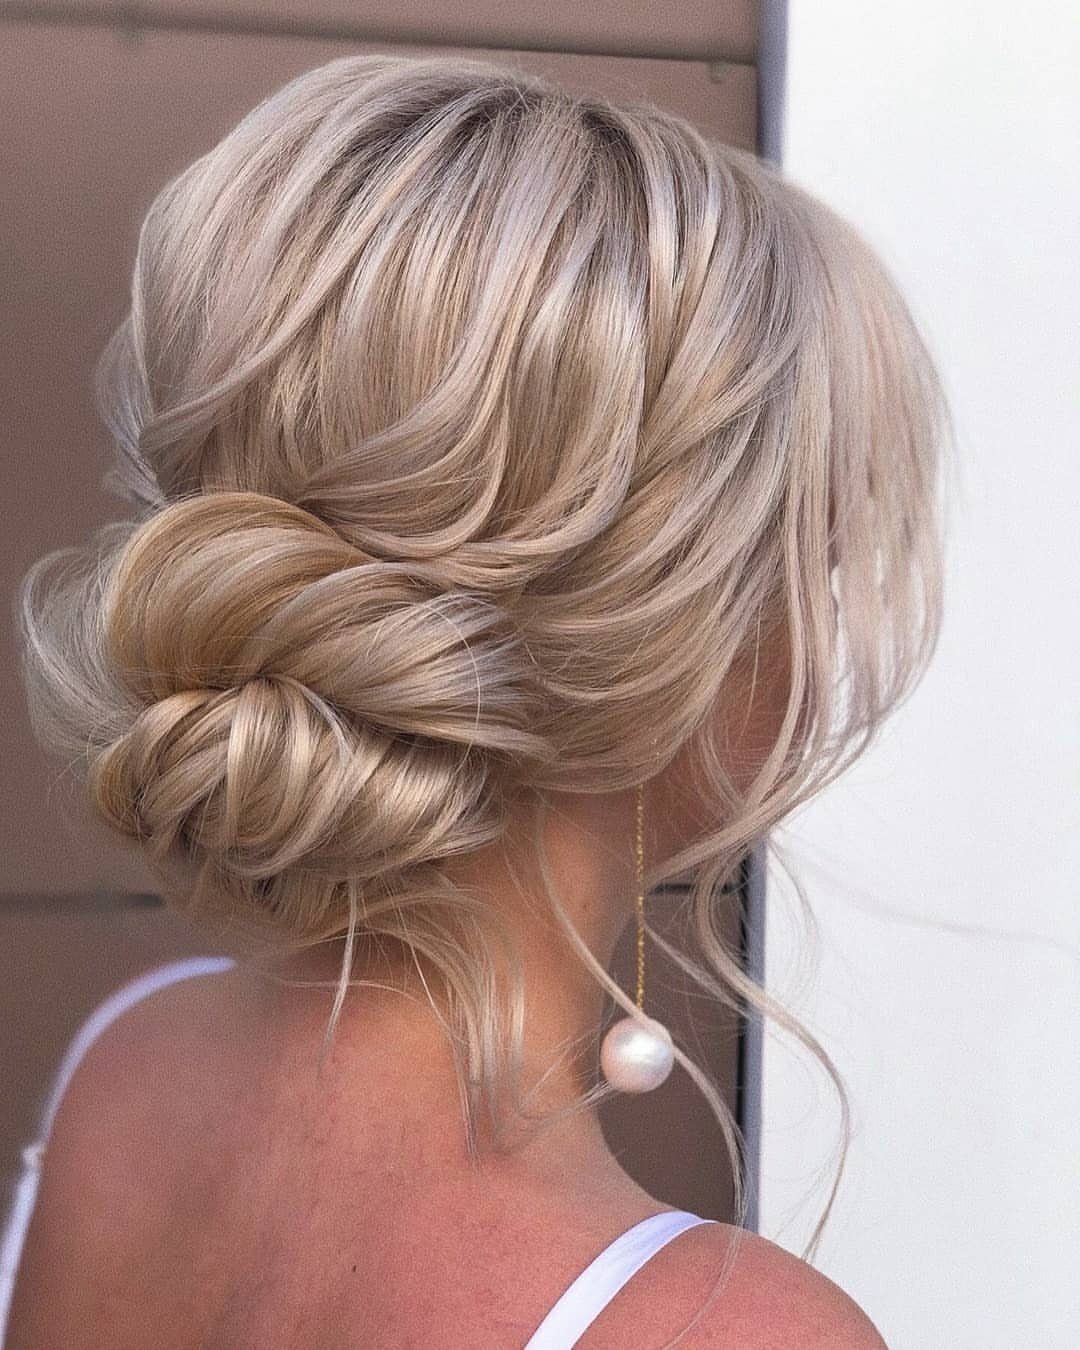
The bun is pulled to one side so the earring stays visible.
Leave face-framing pieces down on both sides and curl them away from the face. The earring shows best when the bun sits on the opposite side.
One statement earring is enough; the other side can stay bare or wear a small stud.
12. Floral Low Messy Bun
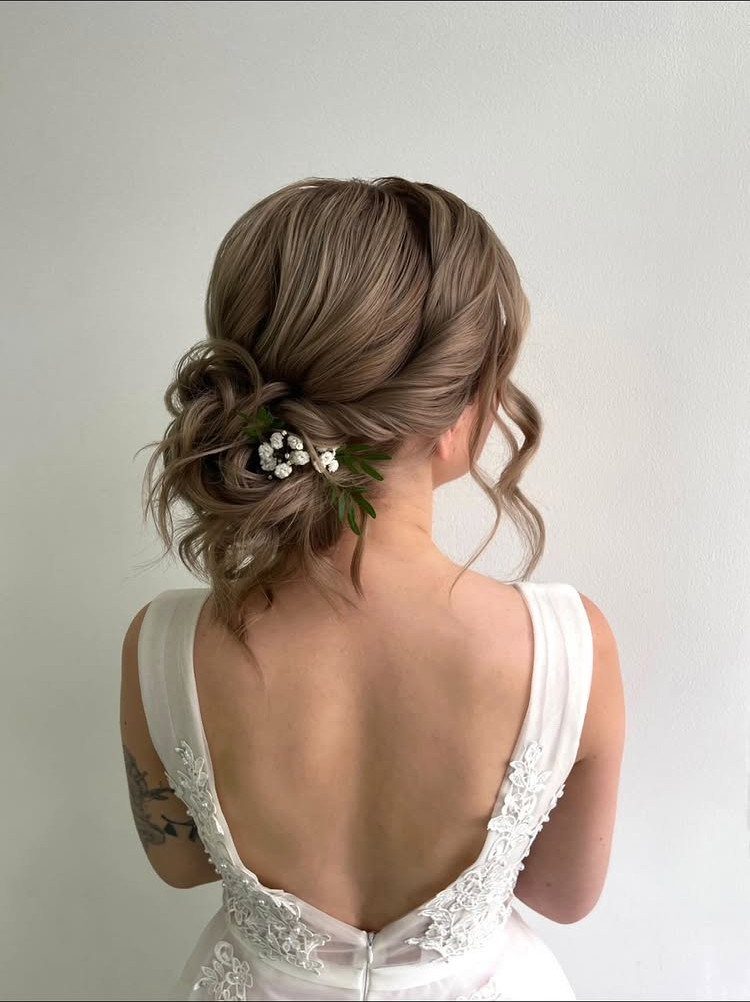
A loose low bun decorated with small white flowers and greenery tucked into the base and sides.
Build the bun first, then slide floral stems into the pins one at a time, angling them so the blooms face outward.
Use flowers with short stems or trim them down so they stay secure. Baby’s breath, wax flower, and small roses work because they hold up without water for several hours.
The flowers add weight, so pin the bun tighter than usual before adding them.
13. Braided Low Messy Bun
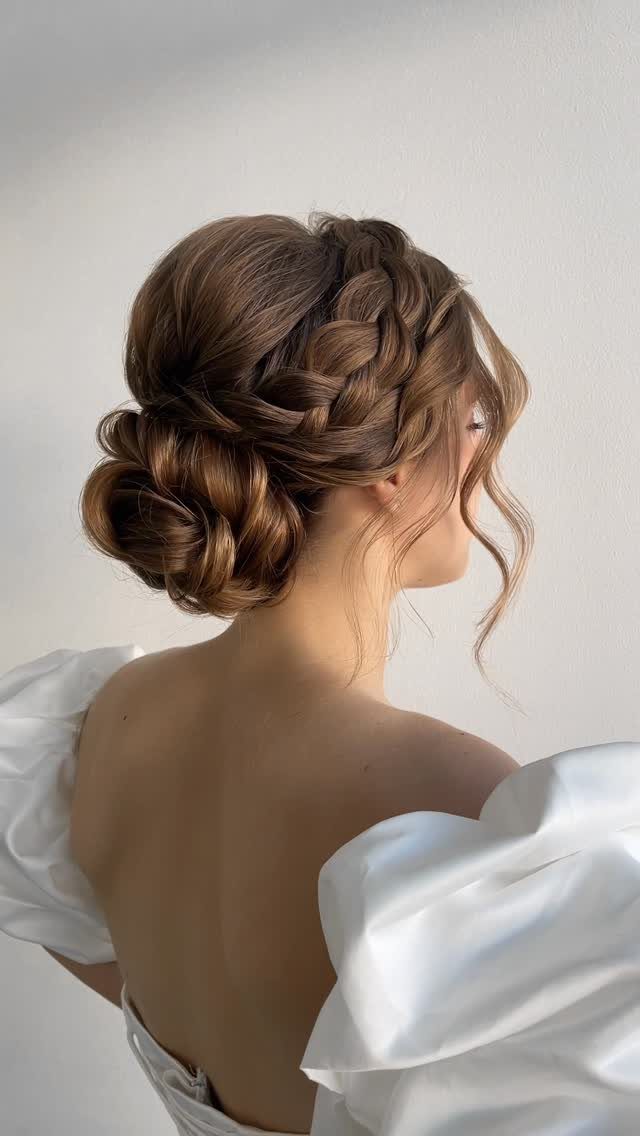
A side braid runs from the temple down to the nape, where the rest of the hair gathers into a soft, textured bun. Loose strands fall around the face and neck.
Braid one side first, starting above the ear and working down in a standard three-strand or lace braid.
Wrap the braid around the base or fold it into the center as you pin. Pull a few pieces out around the face and let some ends show for texture.
The braid adds structure without making the bun look too formal. It holds on second-day hair.
14. Curly-Tendril Low Bun
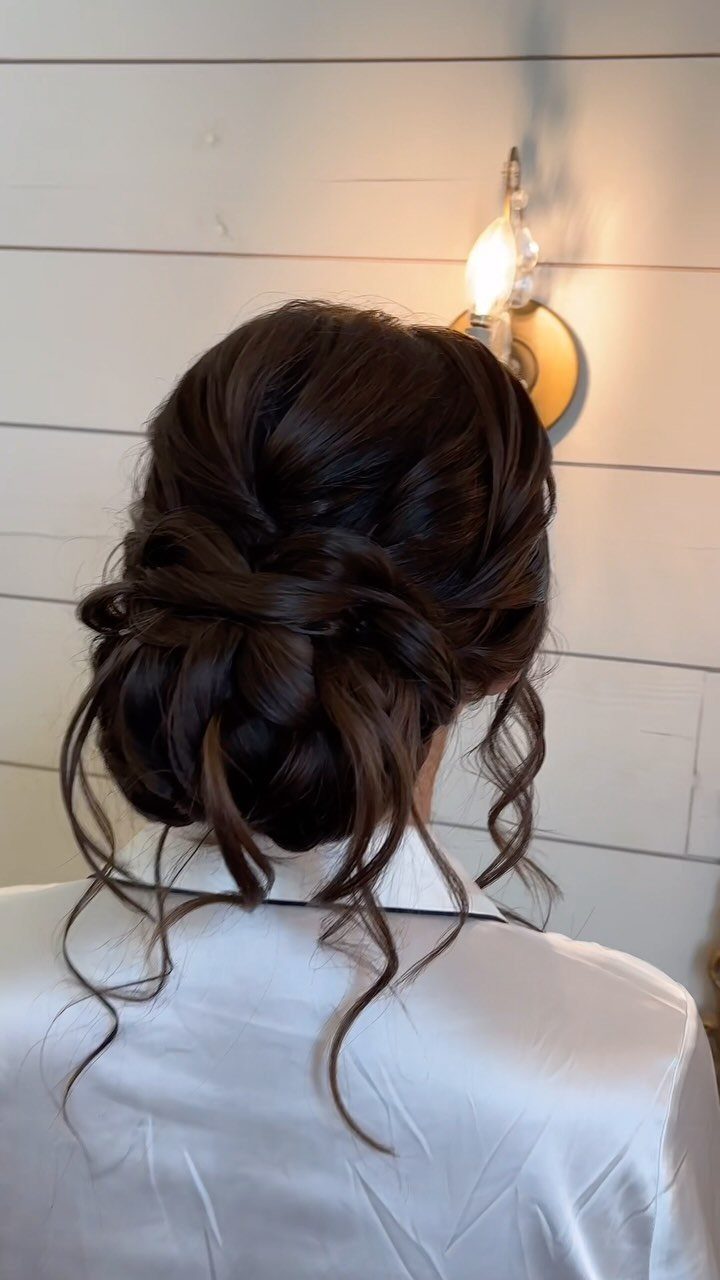
Curled pieces frame the face and neck while the rest gathers into a low, loosely pinned bun.
Curl the front sections first with a small-barrel iron, then gather the rest of the hair low and twist it into a bun, securing it with pins.
Leave the curled pieces down and separate them with your fingers so they stay loose rather than tight.
15. Floral-Accessory Messy Bun
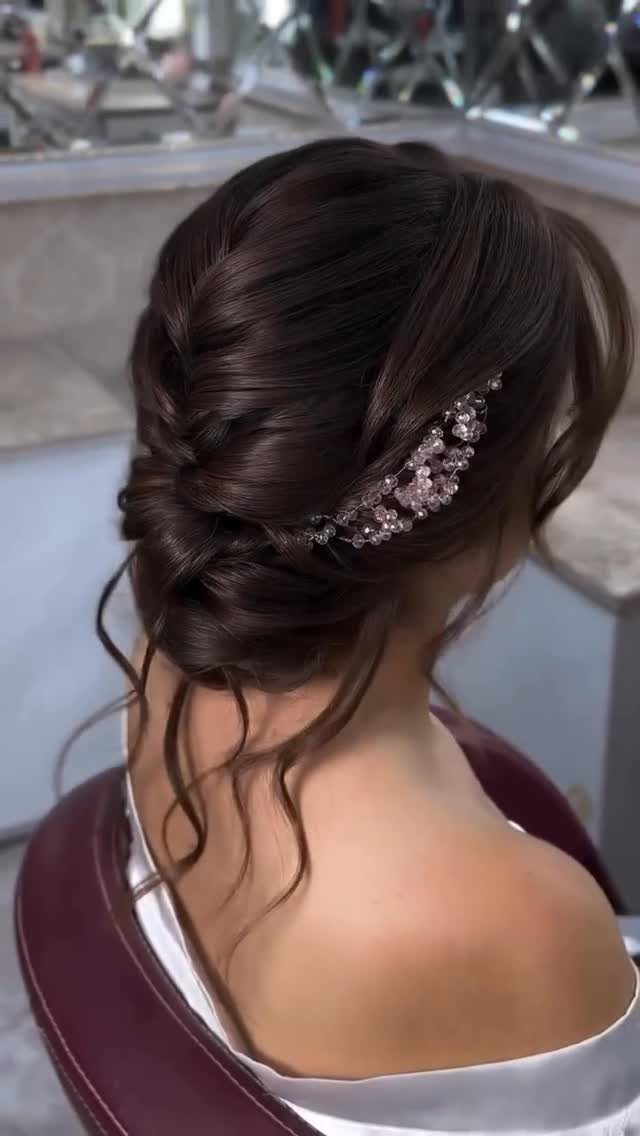
A textured low bun sits at the nape with a jeweled floral hairpiece pinned at the base. The piece catches light and the bun keeps its loose shape with a few tendrils left down.
Build the bun first, pinning it securely, then slide the hairpiece in at the base where the hair gathers. Slide the comb teeth or clip through the band and anchor them in the hair beneath.
The sparkle reads formal. If the hairpiece is heavy, add an extra bobby pin underneath it.
16. Loose Tendril Messy Bun
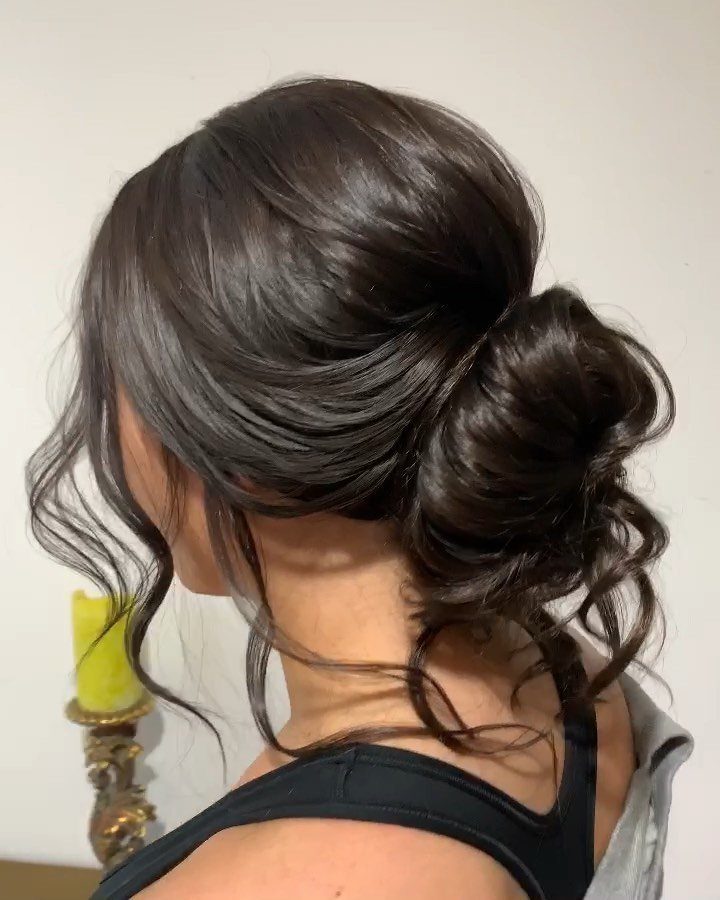
The tendrils soften the profile and the bun stays full without pulling tight.
Gather the curled lengths at the nape and secure them with pins, leaving the texture intact. Leave the front and side pieces out and curl them separately, pulling the curls apart with your fingers afterward.
It works on thick hair and holds through a ceremony when the bun is pinned in 3 places.
17. Voluminous Textured Bun
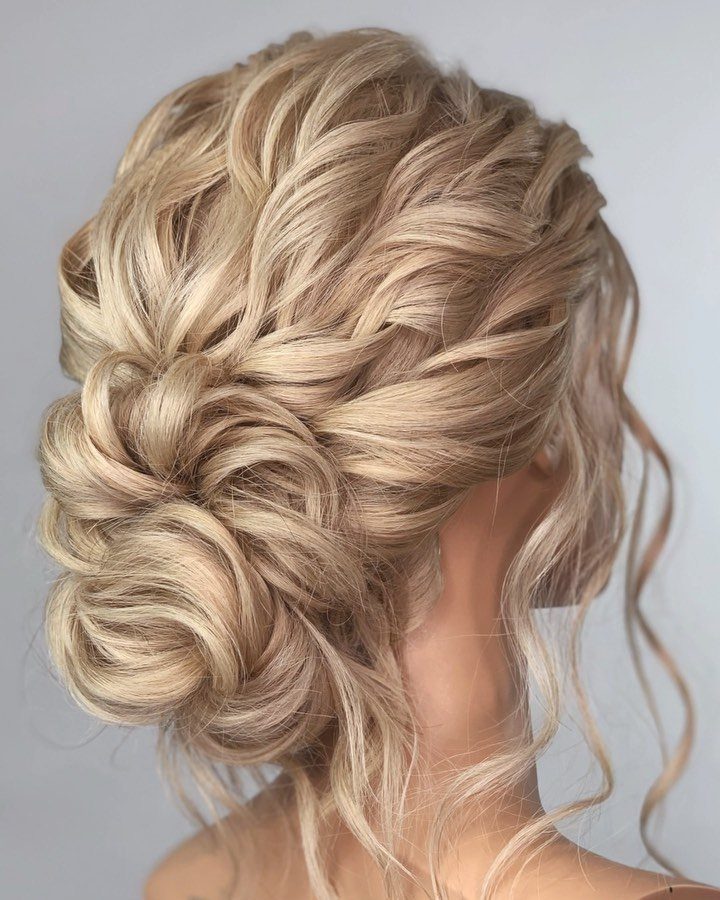
The bun sits full and textured at the nape, built from loosely twisted sections with a few tendrils left down. The volume comes from teasing the hair before pinning it rather than from padding.
Gather the teased hair low and fold it into a bun, keeping the lifted sections visible. Secure it with pins and tug a few strands loose around the perimeter.
It holds on thick or medium hair. Finish with a light hairspray to keep the texture without stiffening it.
18. Braided Low Messy Bun
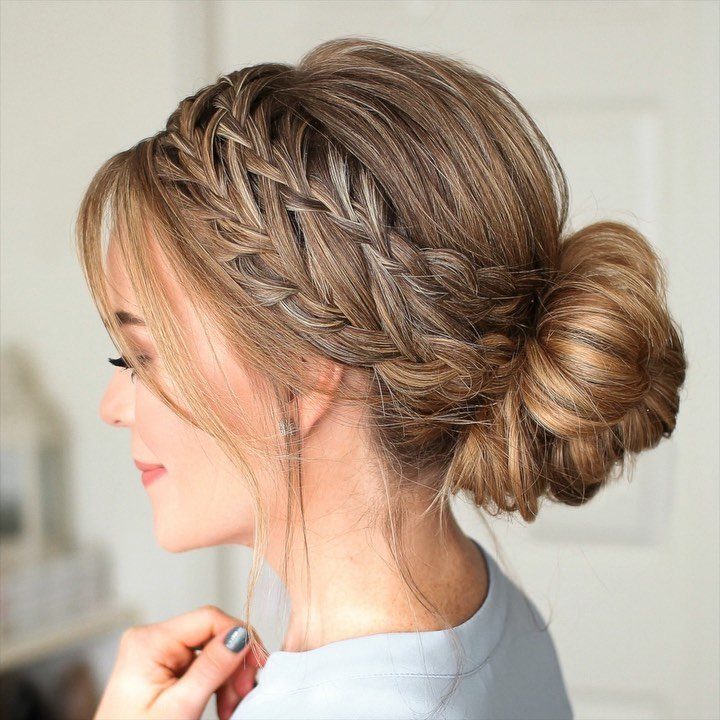
The braid wraps around or through the bun rather than running down the side, creating a woven texture at the nape. The bun stays loose and the braid adds structure.
Pull a few pieces out to keep the bun from looking too tight.
It holds best on hair with some texture or wave.
Frequently Asked Questions
How do you do a low, messy bun?
Start with curls if your hair is straight, tie everything low with an elastic, then twist and pin loose sections around that base.
Tug a few strands free to break up the edges and let some hair fall around your face.
How do you do a cute messy bun?
Gather your hair low without pulling it tight, twist it into a bun and pin sections in place while leaving some ends visible.
Loosen a few pieces at the hairline and let tendrils fall for a softer finish. The finish looks relaxed but intentional, and it works best on second-day hair when there’s some grip.
What are the trendy hairstyles for wedding guests in 2026?
Low buns with texture and loose tendrils are popular, often paired with braids that run along the side or wrap through the bun itself.
Pearl clips, beaded earrings, and small fresh flowers add detail without competing with the dress. The finish stays soft and romantic rather than stiff or formal.