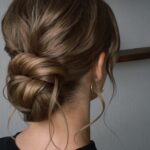
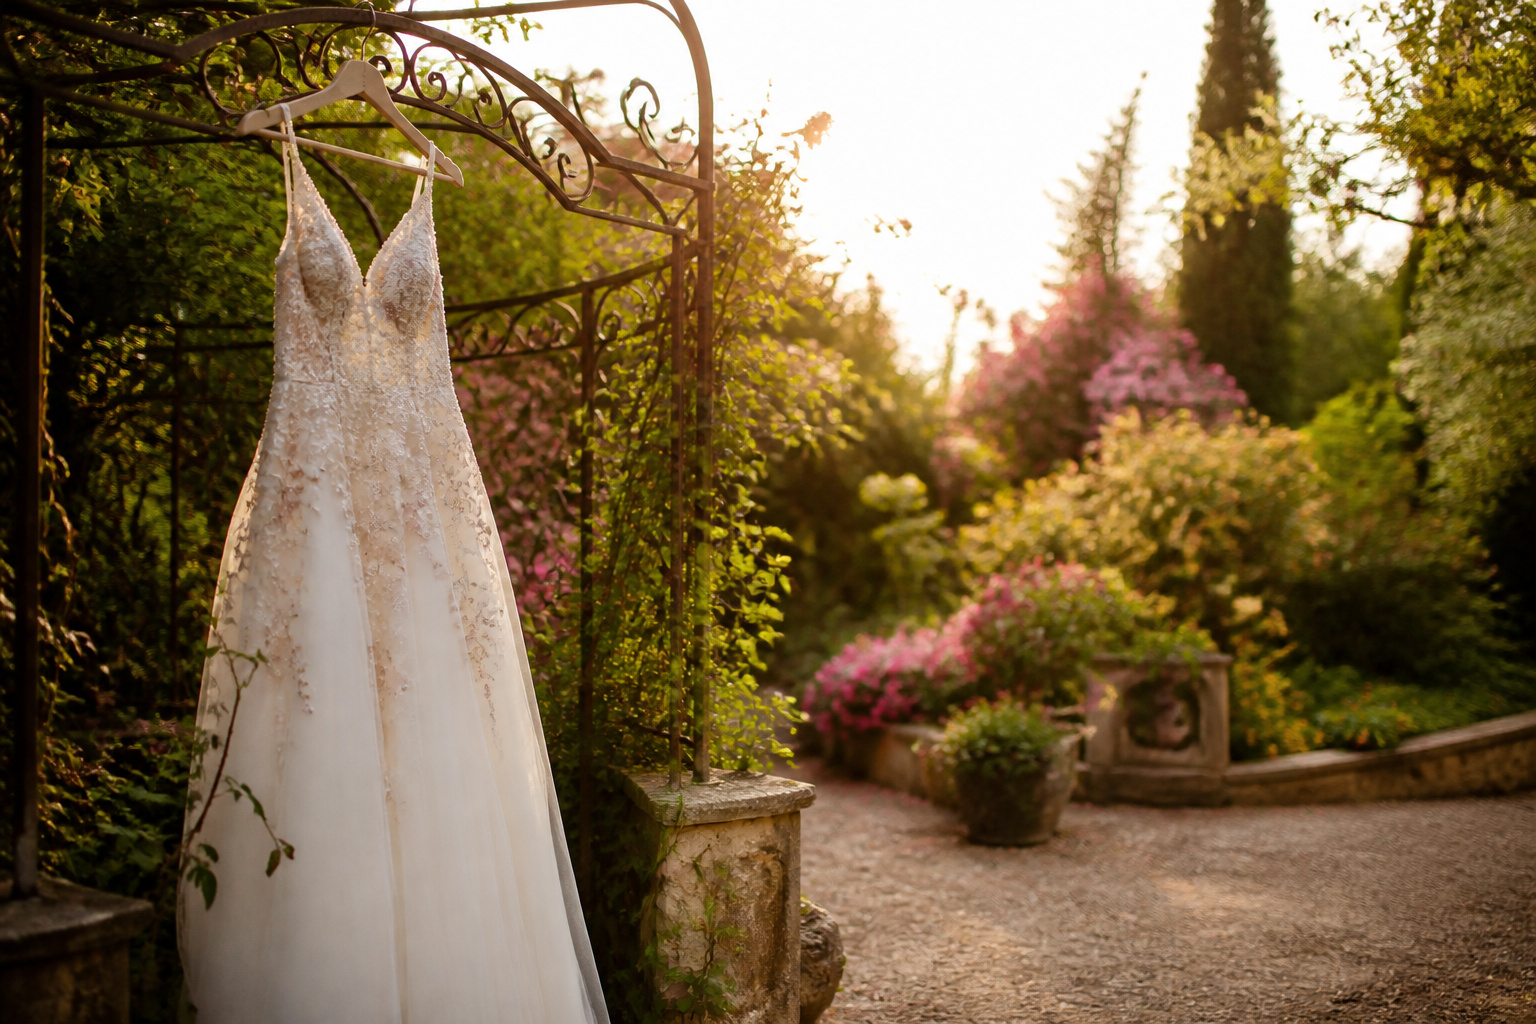
Perfect wedding photos come from preparation that starts weeks before the ceremony, not from last-minute fixes the morning of.
The difference between a stiff grin and a natural smile often comes down to whether you practiced your pose in the actual dress and shoes, or tried to figure it out while the photographer waited.
One bride spent two evenings running through stances in her kitchen, in leggings, before the stance that made her skirt fall right finally felt like her own.
1. Teeth Whitening
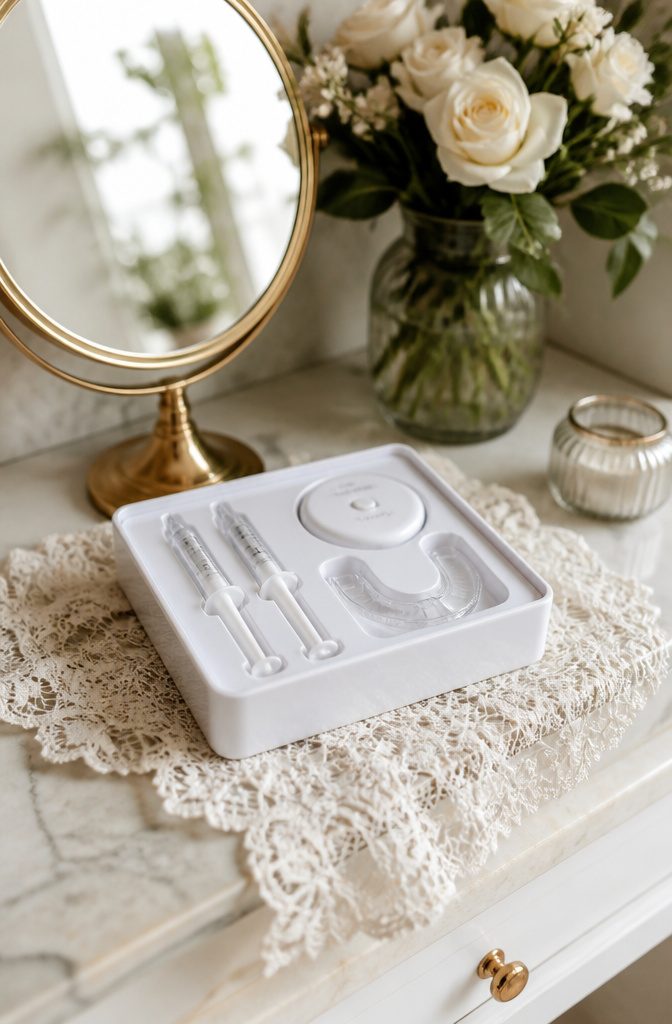
A bright smile shows up in nearly every wedding photo, so teeth deserve some prep time. Start any whitening treatment at least two weeks before the day, whether you go with home strips or a professional session at the dentist.
That buffer lets sensitivity calm down and the color settle into something natural rather than startling. I learned the hard way that same-day whitening leaves gums tender and the shade uneven under flash photography.
The dentist visit matters for more than color. Getting plaque scraped off beforehand gives a smoother surface that catches light evenly, which matters more than the exact shade of white.
Home kits work for gradual brightening, but the professional route wins if coffee or wine has done real damage.
Here is a small trick that costs nothing: run your tongue across your teeth right before the photographer lifts the camera. The thin layer of saliva adds a quick gloss that reads as healthier and more open in the shot.
It sounds odd, but it works, and several photographers have mentioned they notice the difference. A quick brush with a whitening strip before the ceremony works fine if you forget your touch-up pen; the close-ups still come out clean.
What disappointed me was the whitening gum and rinses sold at drugstores. They freshen breath but do not shift color in any meaningful way, and the two weeks before the wedding is not the moment to experiment with gimmicks.
2. Practice Poses and Smiles
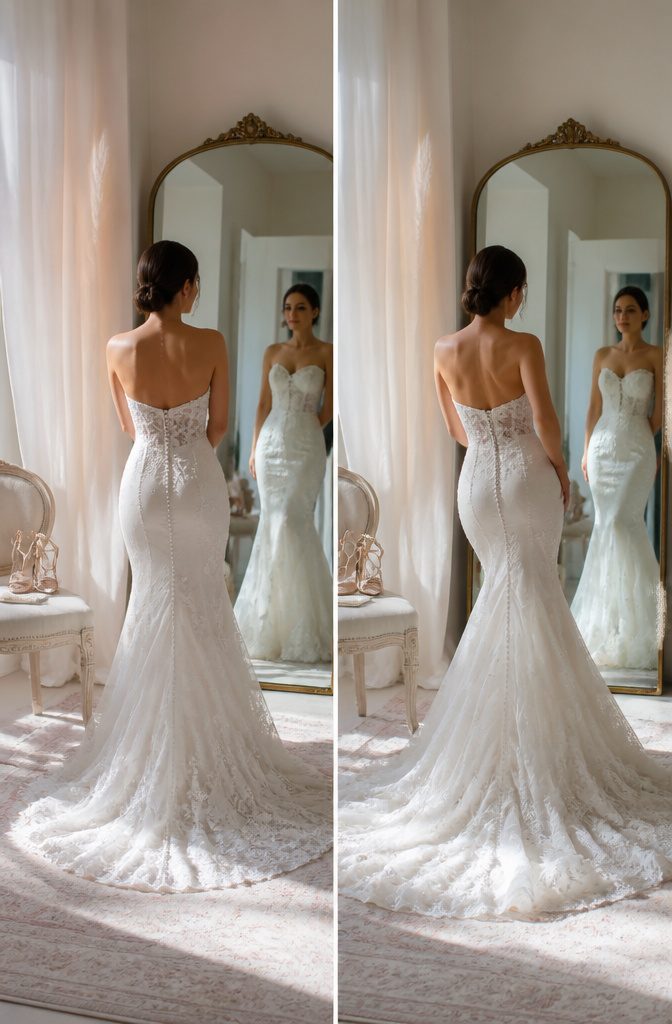
Getting into the actual wedding dress, the real hairstyle, and shoes that match the height you’ll wear changes everything about how you stand.
I rehearsed twice: once three weeks out when the dress arrived, which felt absurd in my living room with a YouTube tutorial on loop, and again the weekend before.
The first round showed me the neckline sat lower than I’d realized, so my habitual chin-lift for photos looked strained. The second confirmed the fix, and by then the smile I planned actually looked like me instead of a grimace.
Practicing poses in front of a mirror feels funny at first, but it pays off. What paid off was finding that one pose, standing with weight on the back foot and shoulders dropped, that made the skirt fall right.
What wasted time was trying to copy a model’s hand position that required a ring I wasn’t wearing and kept throwing off my balance. You only need to recognize two or three reliable angles.
Thirty minutes of this, twice, beats an hour of frantic mirror-checking the morning of.
3. Choose the Right Hair and Makeup
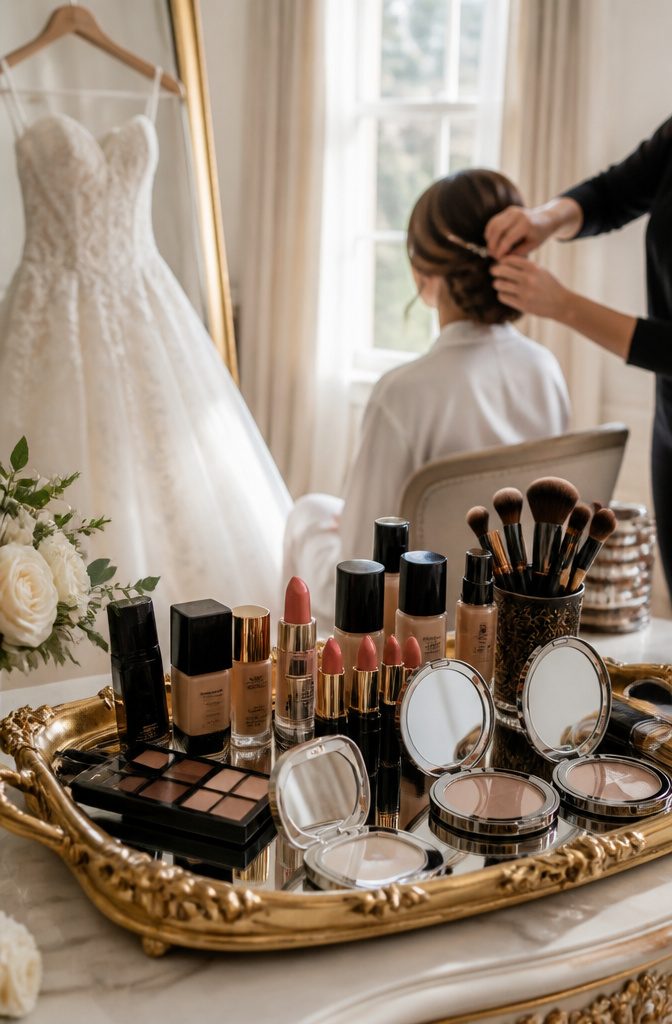
Professional hair and makeup come down to products that survive the day, not just the first look.
Camera sensors pick up what the mirror hides: foundation oxidizing under afternoon sun, mascara transferring in humid air, an updo loosening after an hour of hugging relatives.
A stylist who shoots with you in mind chooses formulas built for longevity over their own favorite brands.
Trial runs matter more than most couples budget for. The first makeup test I watched looked flawless indoors, then turned ashy in mixed daylight; another held beautifully but felt mask-like, and the bride wiped half off before cocktail hour.
Photograph every trial in natural light and through tears if you can manage it. What reads as "matte" in a stylist’s chair becomes "flat" on camera, and what feels too heavy at 9:00 AM still registers as polished at 6:00 PM.
Timing the finish is its own calculation. Hair and faces should be complete when the photographer arrives, minus lipstick dusting and powder touch-ups.
That leaves room for portraits with the dress and the group, not 45 minutes of documentation with foil in your hair. The bridesmaids need the same deadline; matching robes empty faster when everyone’s actually ready.
Jewelry stays off until the details are shot. Lay earrings, bracelet, shoes together where light hits clean.
Then the real preparation, the getting to be a bride in front of the camera, starts with nothing left to wait on.
4. Know Posing Rules
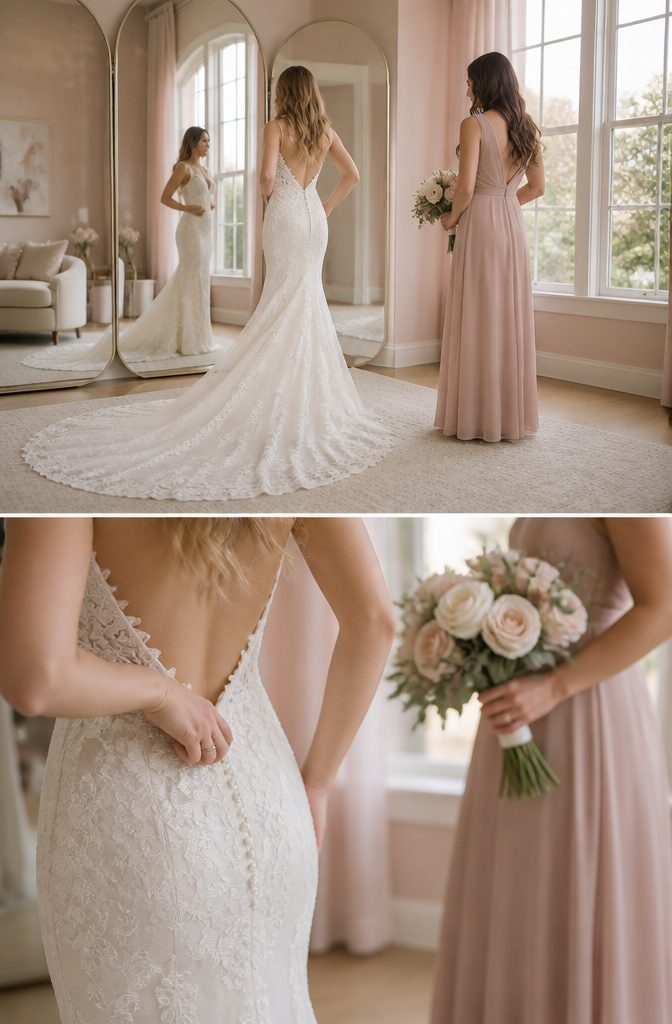
Angling your body toward the camera with weight on the back foot is the single move that gave me the most flattering results for the least effort.
A 45-degree angle to the lens with your back foot taking the load narrows the waist and creates a natural curve that facing the camera head-on simply erases.
The chin-forward-and-down rule felt ridiculous in practice, like I was presenting my throat to a vampire, until I saw it in my phone mirror.
It eliminates the double chin that even thin people get from below-eye-level angles, but it takes repetition to stop feeling like a puppet.
Run through your stance in whatever you have on, with someone snapping candids on a phone, until the position feels natural.
The bouquet rule took longer to internalize: held at your hip at that same 45-degree angle instead of clutched at your sternum, it elongates your torso rather than cutting it in half.
Some rules I abandoned. Raised eyebrows read as startled surprise in every test shot, not alertness, and the arm separation trick looked forced on my narrow frame.
Your body will tell you which rules are for you and which belong to someone else’s wedding album.
5. Prepare the Location
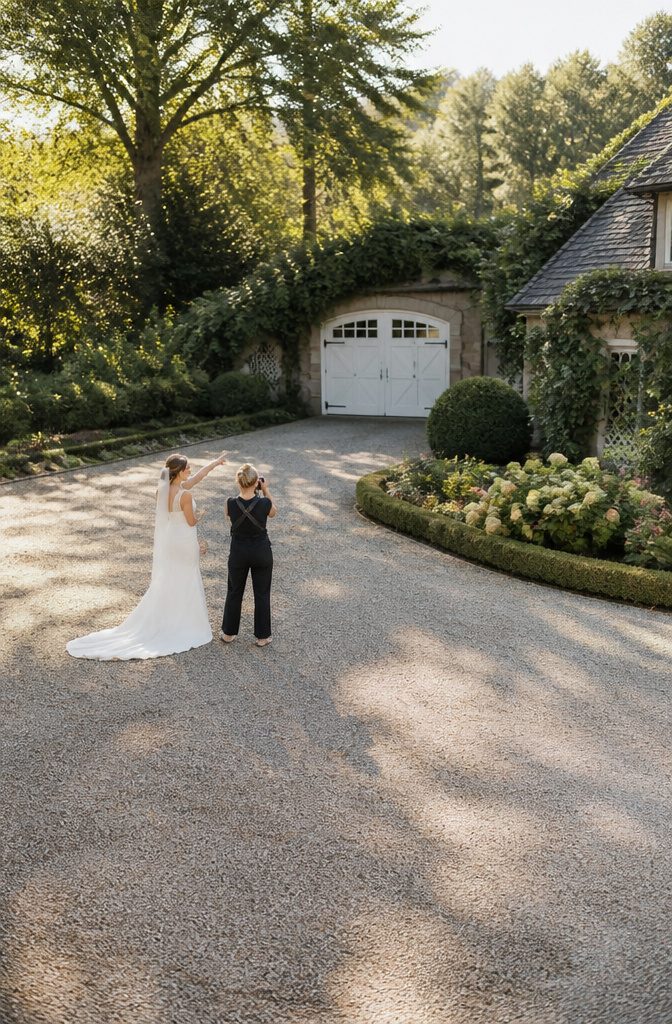
Talk to your photographer about backdrops before you assume you know the venue.
I walked the grounds of my cousin’s estate three times before the wedding, convinced I had the spots picked out: the oak tree by the pond, the stone wall at the garden’s edge, the wraparound porch at golden hour.
The photographer arrived the morning of, spent twenty minutes circling the property, and shot our couple portraits against a plain white garage door I had never looked at twice.
The light there was even, the background clean, and the oak tree, which I had imagined as romantic, threw dappled shadows that made every fifth shot unusable.
What I had missed was that familiar places make you blind.
You stop seeing the peeling paint on the porch rail, the power lines behind the wall, the way that pretty pond turns to black mirror once the sun drops behind the hill.
A photographer sees the property once, with fresh eyes, and they see what the camera actually records, not what you remember from summer barbecues.
The permit question came up too late for comfort. The estate allowed weddings but required separate photography authorization for the historic garden, a detail buried in an email attachment I had skimmed.
We shot there anyway, quickly, while a staff member looked the other way. Get the photographing permit requirement in writing when you book, not the week before.
6. Getting Ready Tips
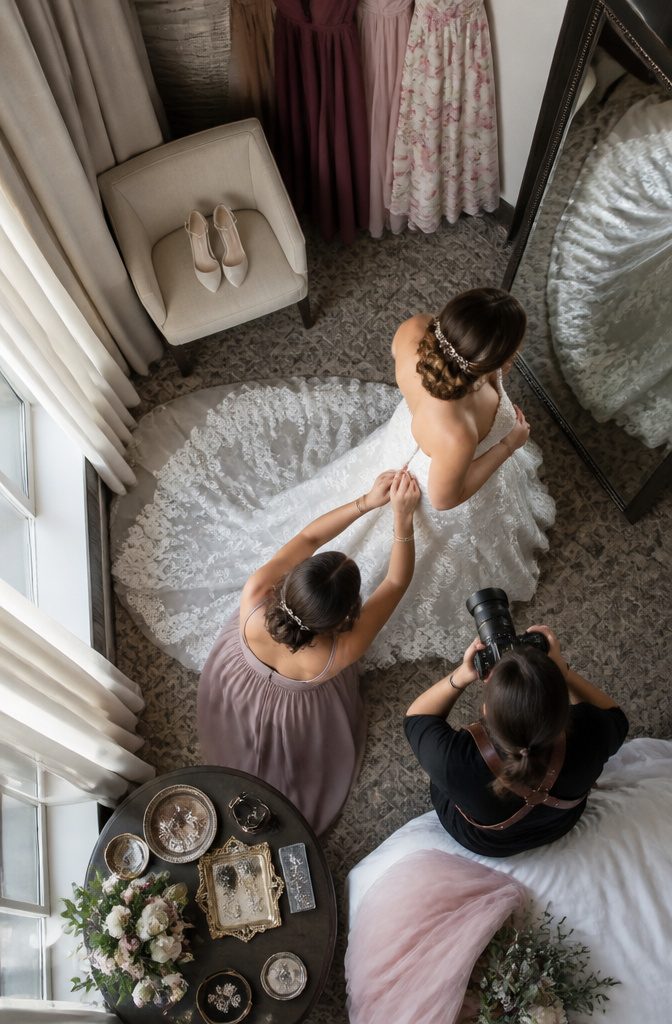
The photographer walked into my hotel room and immediately started shifting things. A half-empty coffee cup, my phone charger, a pile of bridesmaid dresses still in plastic.
Three minutes of clearing surfaces would have saved twenty minutes of setup, and I watched her move the same water bottle out of frame three separate times because I kept forgetting it existed.
Lay out accessories before they arrive: rings on a clean tray, shoes paired, cufflinks in their box. The groom especially needs this.
Pants on, shirt optional, everything else staged. My husband had his tie half-knotted when the photographer walked in, and she made him undo it for the shot of her tying it fresh.
He had practiced on YouTube the night before, which mattered more than I expected.
Light is harder to fix than clutter. A room with windows on one side gives you one look; lamps in the corners give another.
The photographer will move toward the light, so give them space to get there without climbing over your overnight bag.
What I forgot: the closet door, hanging open behind me in every single getting-ready photo, with yesterday’s jeans visible on the hook. Close the doors.
All of them.
7. Capture Emotional Moments
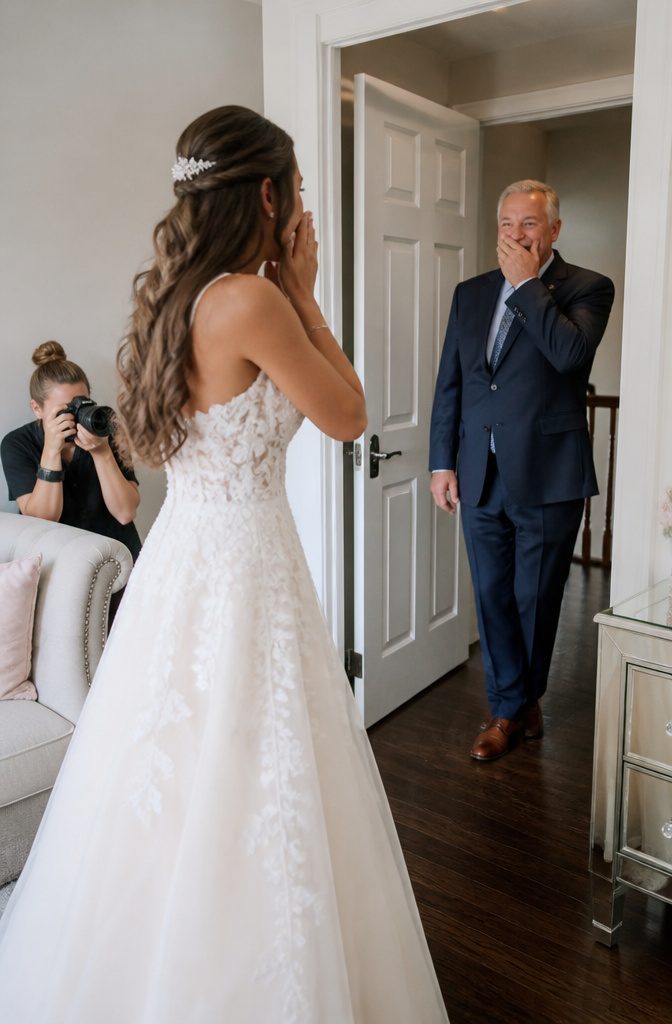
A first look sounds romantic on paper, but ours felt like a staged scene from a show neither of us wanted to be in.
The photographer positioned my partner by a column, tapped my shoulder, and suddenly I was supposed to produce a camera-ready gasp. What came out was a polite smile and the immediate awareness that three people were watching.
The images are technically fine. They hang in the album without drawing anyone’s eye.
The father-daughter reveal went differently because the timing slipped. My dad arrived while I was still pinning the bustle, not after the planned warning call.
The photographer was across the room adjusting lenses when she heard my voice crack at his reflection in the mirror.
She turned and caught the only shot from that morning that still makes me stop flipping pages: his hand on the doorframe, my shoulder half-turned, both of us suspended in an expression we would have hidden if we’d remembered the camera was there.
The moments that last are the ones that happen while the photographer is technically still preparing. I balanced this by giving her a loose schedule of when people would arrive, then stepping back.
The more I treated emotional beats as appointments to keep, the more they performed like obligations.
Candid interaction between my college friends happened during the cocktail hour I had not tightly orchestrated; she shot from the balcony without directing anyone below.
If you want genuine emotion in your perfect wedding photos, leave windows unscripted.
8. Utilize Trending Photography Styles
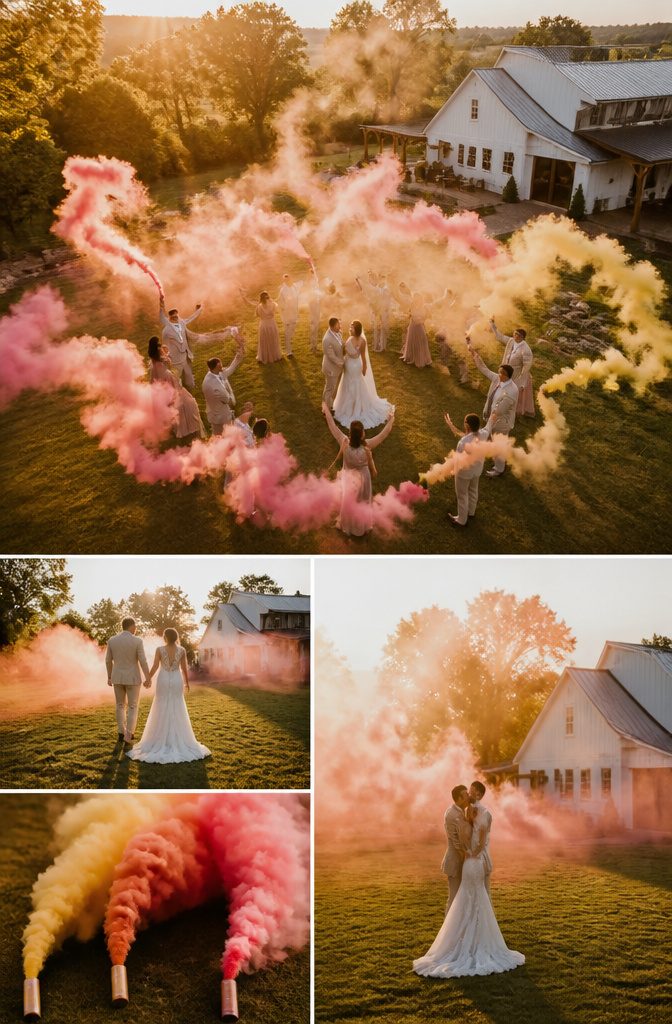
Drone photography topped my watch list for two years before I priced it out. The aerial shots looked effortless online, but the reality is a licensed operator, FAA clearance for many venues, and a $400–800 add-on to a typical package.
I ended up skipping it after our barn venue confirmed the nearest airport required written notification 72 hours ahead. That paperwork gap alone would have cost us the morning light.
Smoke bombs sat in the same category of promise versus hassle. Colorful plumes backlit at golden hour make for arresting frames, and the bombs themselves run cheap, maybe $15–30 each.
What the footage never shows is the fine print: the casings stay hot enough to burn grass or dress hems, the dye can stain gravel or decking, and most venues classify them as pyrotechnics needing explicit permission.
One couple I follow online loved their images until the venue withheld their security deposit over scorched lawn patches.
I did try one trend that delivered. My photographer brought a simple handheld reflector for edge lighting during our first look.
The result had the same dimensional pop I had admired in drone reels, minus the permits, the noise, and the gamble on weather. For a modest budget, that single tool outperformed every viral technique I considered.
Wedding Day Timeline
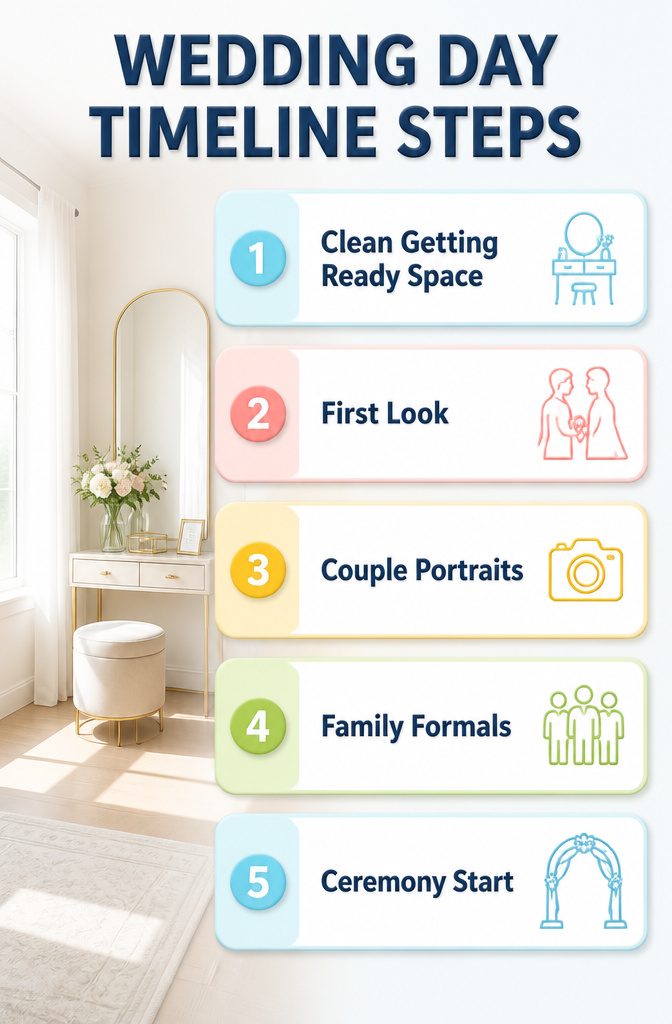
Every timeline I studied before my own wedding built in cushion between getting ready, the first look, and family formals, and I treated that cushion as negotiable.
The photographer I hired asked for 90 minutes from her arrival to the ceremony start; I gave her 55 because the venue had a strict midday flip time and I wanted the extra sleep.
The result was a rushed first look, no time for the quiet couple portraits she had scouted a hill for, and family photos that ran ten minutes into cocktail hour while guests stood waiting with drinks in hand.
A first look changes the math entirely. Without one, the typical flow stacks every portrait after the ceremony: family formals, wedding party, then the couple alone, all while guests wait and daylight fades.
With a first look, the couple portraits and wedding party shots move to the quiet afternoon, leaving only family formals post-ceremony.
The photographer recommended this route specifically for the breathing room it creates, and the couples I watched pull it off that year had 30 to 45 minutes of buffer I never built in.
The getting ready space matters for the same reason. A cluttered room costs the photographer the first 15 minutes of her arrival, time that comes straight out of the shot list.
Clean surfaces and the people who actually need to be there, ready, keep the morning on track. My room had neither, and I felt the loss later in the schedule I had already cut too short.
Photography Trends
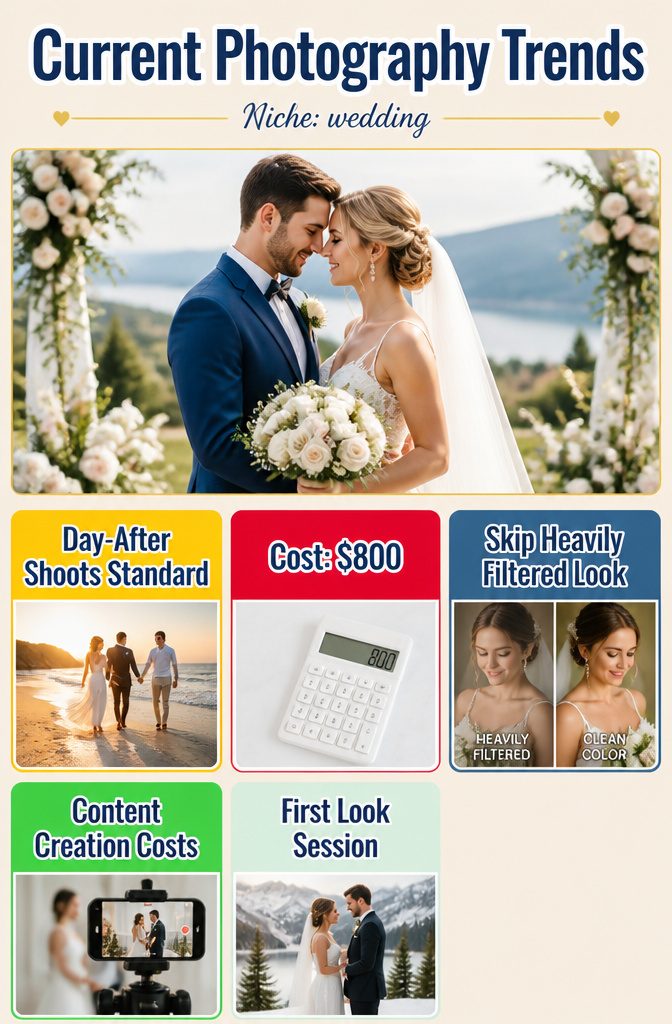
Day-after shoots have quietly shifted from industry secret to standard option, and the pricing made my decision for me.
A full second session runs roughly half the wedding package again, which only works if you’re already trimming hours from the actual day. I priced one at $800 and kept that money in the guest bar budget instead.
What I’d skip entirely: the heavily filtered "editorial" look that dominated 2019–2020 albums. Those matte, desaturated skin tones already read as period pieces, and couples are paying to have them re-edited.
The bright, clean color handling from earlier in the decade actually holds up better.
A trend I considered and rejected was the "content creation" add-on, a separate person shooting phone-formatted video for social feeds. It fragments your attention, costs $400–600, and the clips age faster than the stills.
Better to book one photographer you trust and stay present.
The less common option that nearly got me was a "first look" session days before the wedding, shot at a meaningful location with no time pressure.
It solves the daylight problem for winter ceremonies, though guests never see that dress moment, and something felt off about staging the emotion. I kept the real timeline and used the savings for an extra album copy.
Emotional Moments
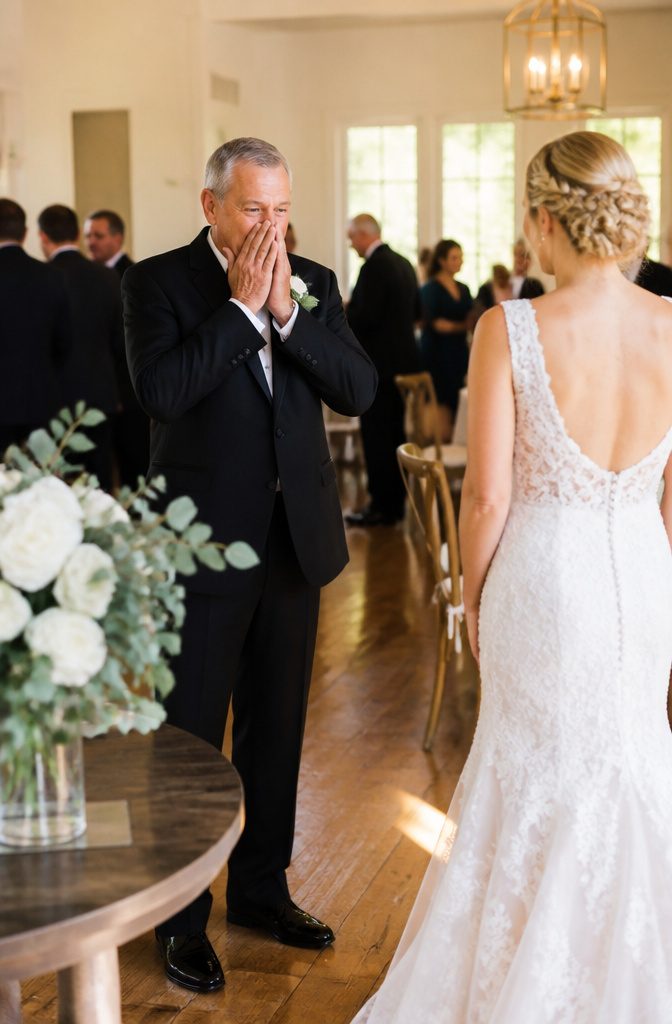
Genuine emotion outperforms anything a photographer can pose. The father-daughter first look, when he sees the dress for the first time, carries more weight than any staged portrait because the reaction belongs to the moment, not the camera.
I told my photographer to watch for two things: my father’s face when he arrived, and the unscripted interactions during the reception. She caught both, but she also caught what I missed entirely.
During toasts, she photographed my grandmother alone at a corner table, holding a napkin to her eye. I was facing the speaker and never saw it.
The image made the final album not because it flatters anyone, but because it records what was actually happening while I looked elsewhere.
That changed how I chose prints. The posed family shots went to relatives who wanted them.
The album I kept opens with the first look, runs through candid dancing, and ends on my grandmother. Ask your photographer to shoot the edges of the frame, not just the center of the action.
The moments you miss are often the ones that survive the memory best.
Frequently Asked Questions
What are the wedding photo trends for 2026?
Wedding photo trends shift each year, giving couples and photographers fresh ways to get creative.
How can I make my wedding photos look stunning?
Have your hair and makeup almost finished when the photographer arrives, leaving only quick touch-ups like lipstick or powder.
This buys more time for portraits with your dress and your wedding party instead of shots with your eyes closed in a makeup chair.
What should I do to prepare for my getting ready photos?
Spend about three minutes clearing clutter before the photographer walks in. A clean room with surfaces wiped clear and accessories laid out neatly sets the tone and saves setup time that otherwise cuts into your shot list.
What is the 30-5 rule for weddings?
It does recommend 30 minutes of pose practice, twice before the wedding day, to find your best angles without the morning-of panic.
What is the most iconic wedding photo of all time?
It does argue that unscripted emotional moments, like a father’s reaction seeing the dress or a grandmother wiping her eye during toasts, outlast any posed shot in personal meaning.
Is $4000 a lot for a wedding photographer?
It does list specific add-on costs: drone photography runs $400–800 extra, day-after shoots roughly half the main package again, and ‘content creation’ for social video adds $400–600.