The projects below range from simple wire and beads to a jeweler’s saw and torch setup, and the deciding factor is how much tool investment you’re willing to make before you know you’ll keep going.
Stacking rings and beaded wire hoops need little more than pliers and wire; the cuff bracelet needs a saw, files, mallet, and torch before you can file and hammer its curve into shape.
1. Stacking Rings
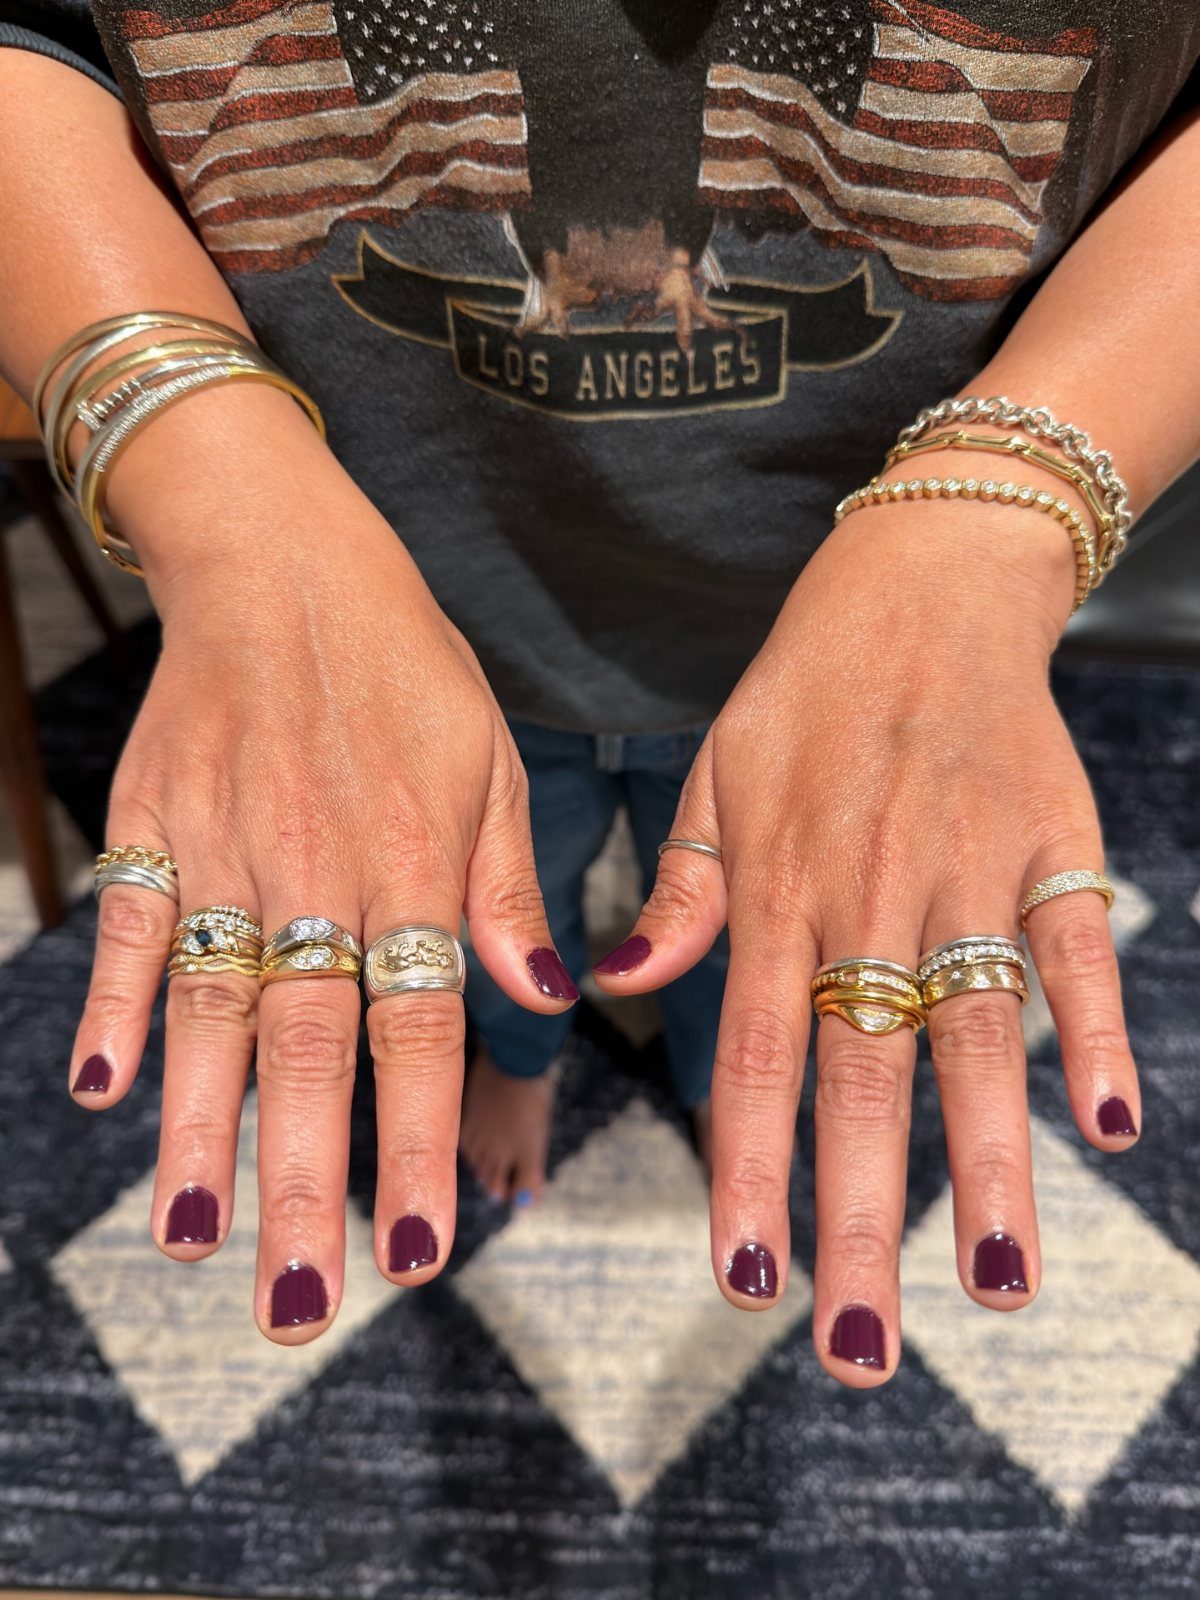
A stack of rings across both hands turns the everyday gesture of holding a coffee cup into something deliberate.
Gold and silver sit side by side now; the old rule about matching metals has relaxed enough that mixing them reads as intentional rather than accidental.
Wire and basic mill materials from a beginner ring kit get you started without much upfront cost.
The same kit teaches how to solder a cubic zirconia setting onto a band, which lifts a simple stack into something that catches light differently.
This suits someone who wants jewelry that accumulates over time. A single ring marks an anniversary; a cluster of them marks a longer stretch.
The risk is sizing: fingers swell in summer, and a stack that fit in March may not in August. I’d buy slightly loose rather than snug.
2. Make Beaded Wire Hoop Earrings
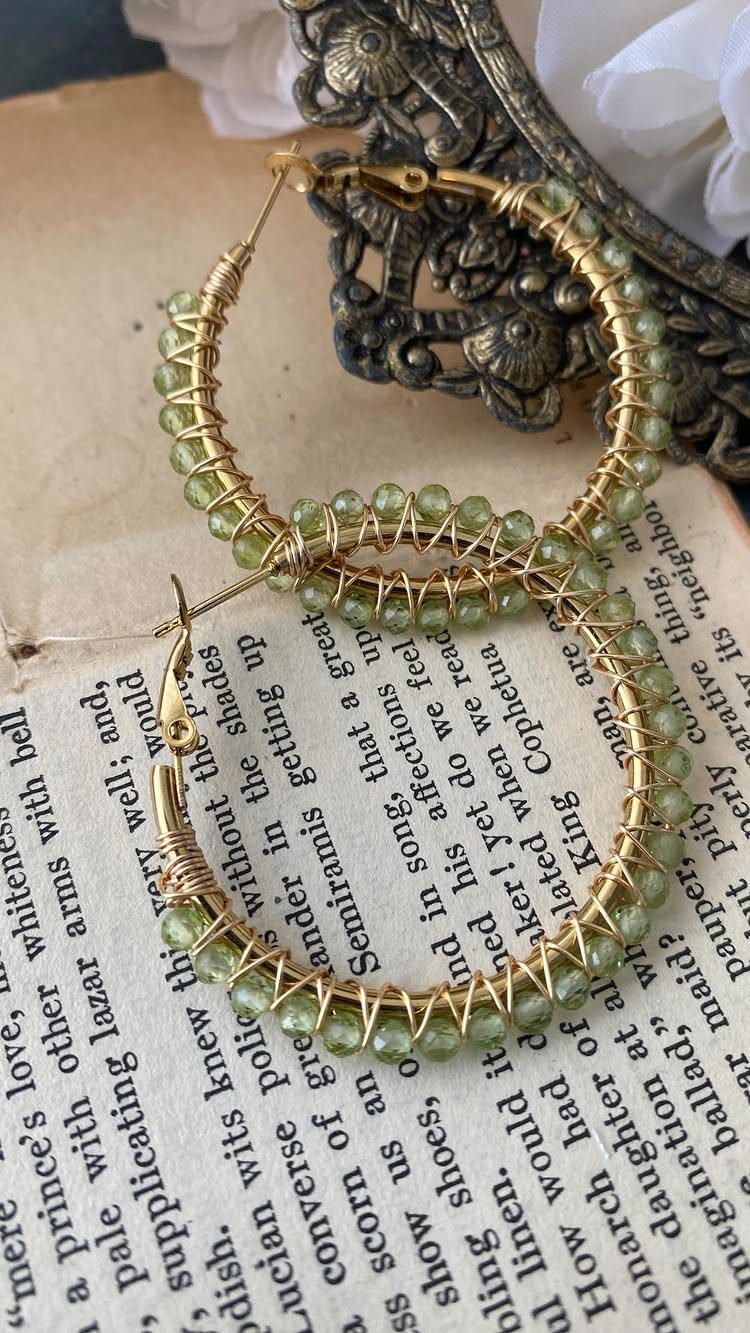
Wire wrapping around a hoop shape teaches your hands how metal behaves under tension. 26-gauge gold wire and medium hoops are one maker’s starting place; smaller hoops work if you prefer something closer to the lobe.
Green beads against gold read vintage, but the technique accepts any color story. The cross-cross pattern the maker arrived at after several tries suggests this: your first pair will look like practice, and that is part of the learning.
Wire and beads are cheap enough that a miswrapped hoop costs little in materials.
A round-nose plier and a flush cutter are the minimum tools. The forming happens by hand, coiling and anchoring until the bead pattern holds.
This is the project I’d hand someone who has watched jewelry tutorials but never felt wire give way and spring back.
3. Make Beaded Bracelets
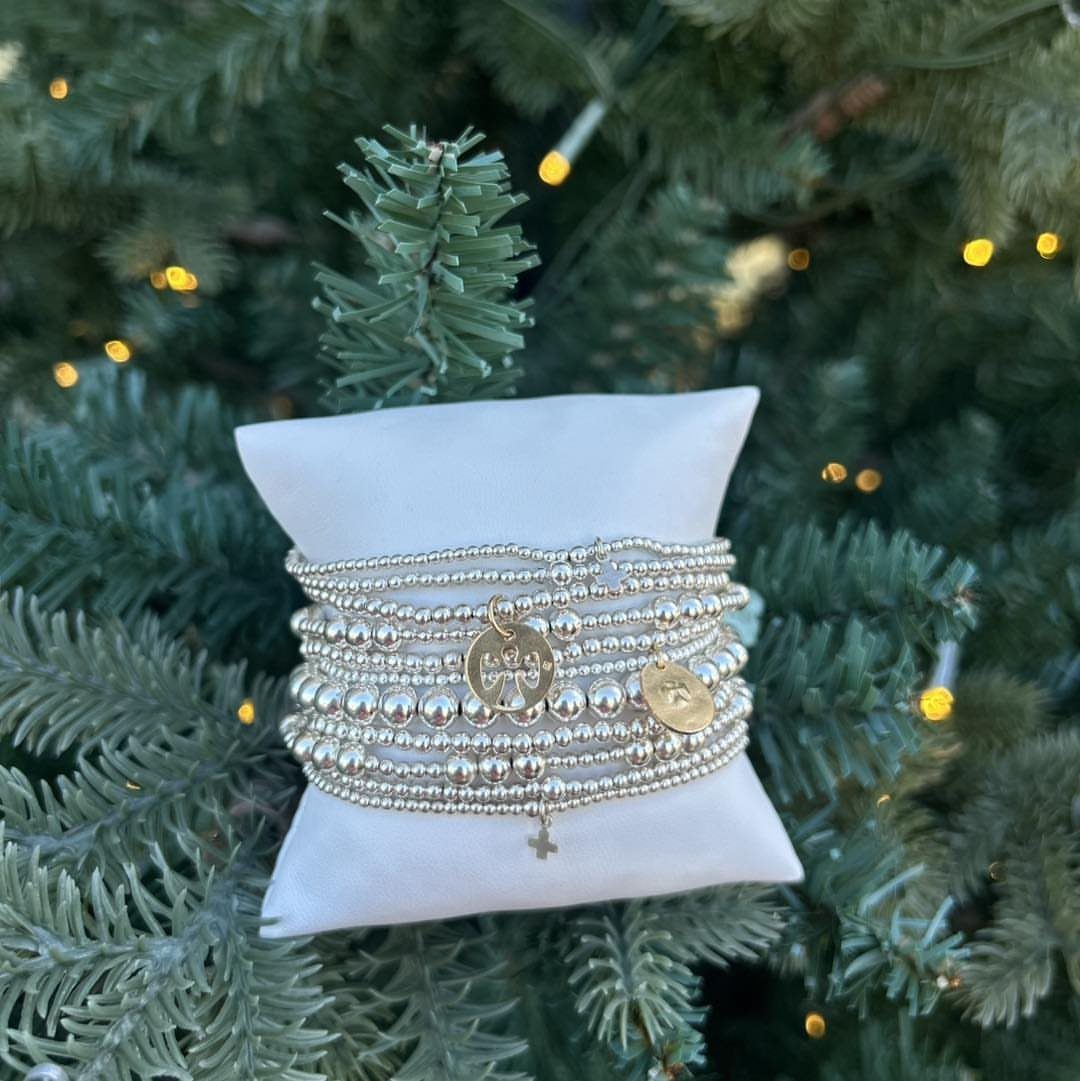
The technique is pattern-making: stringing, spacing, and finishing so the bracelet does not scatter across a restaurant floor.
A secure finish matters more than the beads themselves. Crimp beads, properly flattened, hold tension; a poorly crimped bracelet dies in a drawer.
The video tutorial on bracelet beading covers the motion, which takes repetition to feel automatic.
This is slower than wire wrapping but more forgiving of asymmetry. A pattern that wanders slightly still reads as handmade; a wire shape that wanders reads as failed.
I’d start here if you want to produce gifts in quantity. The cost scales with bead choice: base metal and glass keep a bracelet modest; semi-precious stone raises it.
4. Make Cuff Bracelets
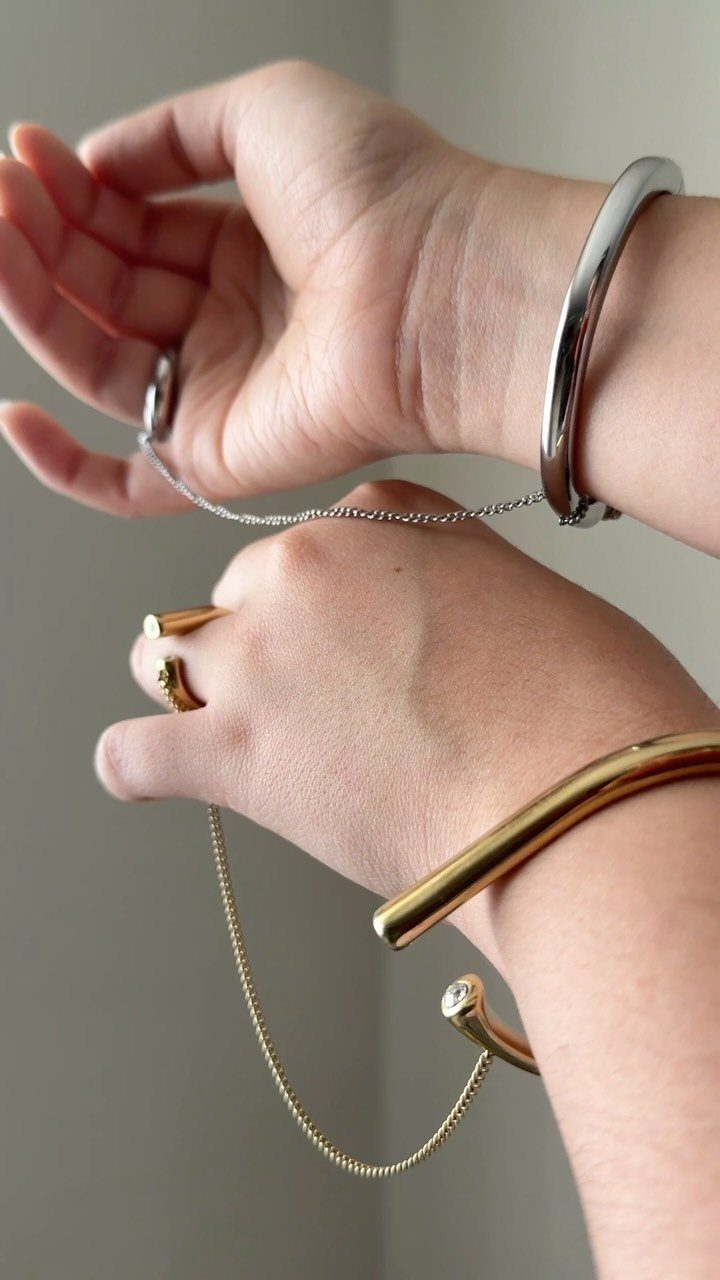
A chain running from cuff to ring turns two separate pieces into one gesture. The visible cuffs are thick, one silver and one gold, with the chain bridging the gap between wrist and hand.
This is not subtle jewelry; it moves when you reach for a glass and draws attention to the motion.
Making a cuff involves filing edges, hammering texture, and forming the curve to fit a wrist without a clasp. The tutorial article walks through each step, though the tools cost more upfront than wire projects.
A jeweler’s saw, files, and a mallet are the minimum; a torch for soldering the chain attachment adds to the list.
This suits someone past the first project who wants a piece with presence. A cuff this wide in silver carries real weight, which feels like something until it doesn’t.
I’d wear it for an evening, not a workday at a keyboard.
5. Make Personalized Stamped Jewelry
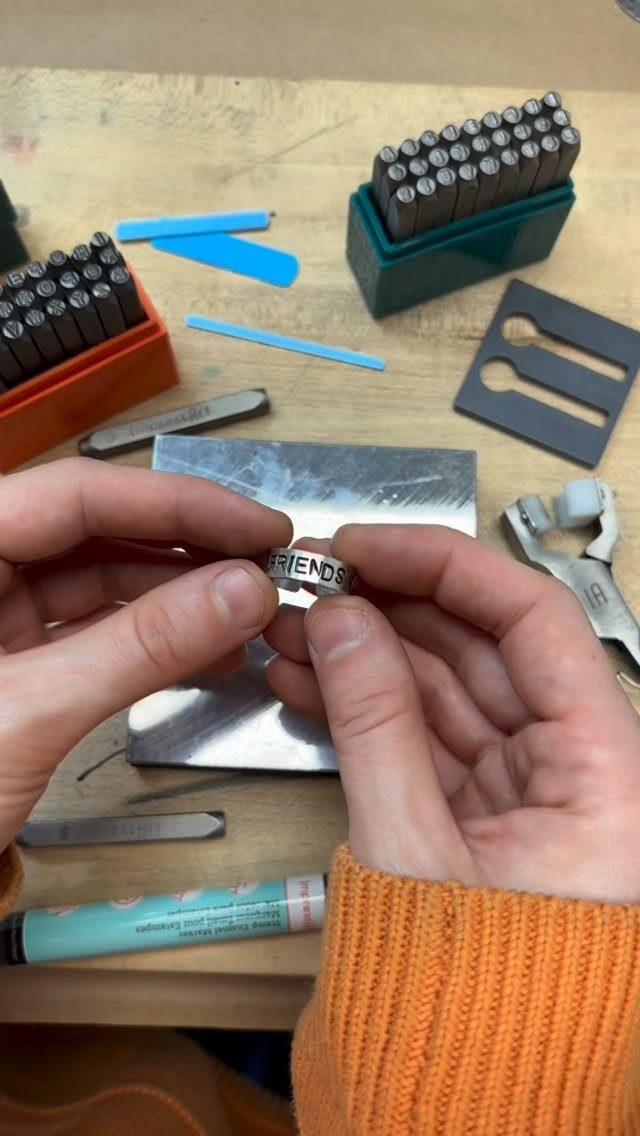
A ring stamped with "FRIENDS" sits above the tools that made it: steel stamps, a brass hammer, a bench block.
The letters are slightly uneven, which is the signature of hand stamping and the reason people choose it over machine engraving.
The tool list is short and specific. A brass hammer delivers the strike; a nylon or rawhide hammer follows to flatten distortion without marring.
The bench block gives a hard surface, and the stamp set provides the alphabet. Pliers and jump rings attach the finished piece to chain or beadwork.
This is the project for someone who wants meaning over refinement. The depth of each letter varies with your strike; consistency comes after dozens of attempts.
I’d practice on copper before touching silver, and I’d plan the spacing by marking the metal first. A name, a date, or a short word: that is the constraint, and working within it is part of the appeal.
6. Make Bangle Bracelets
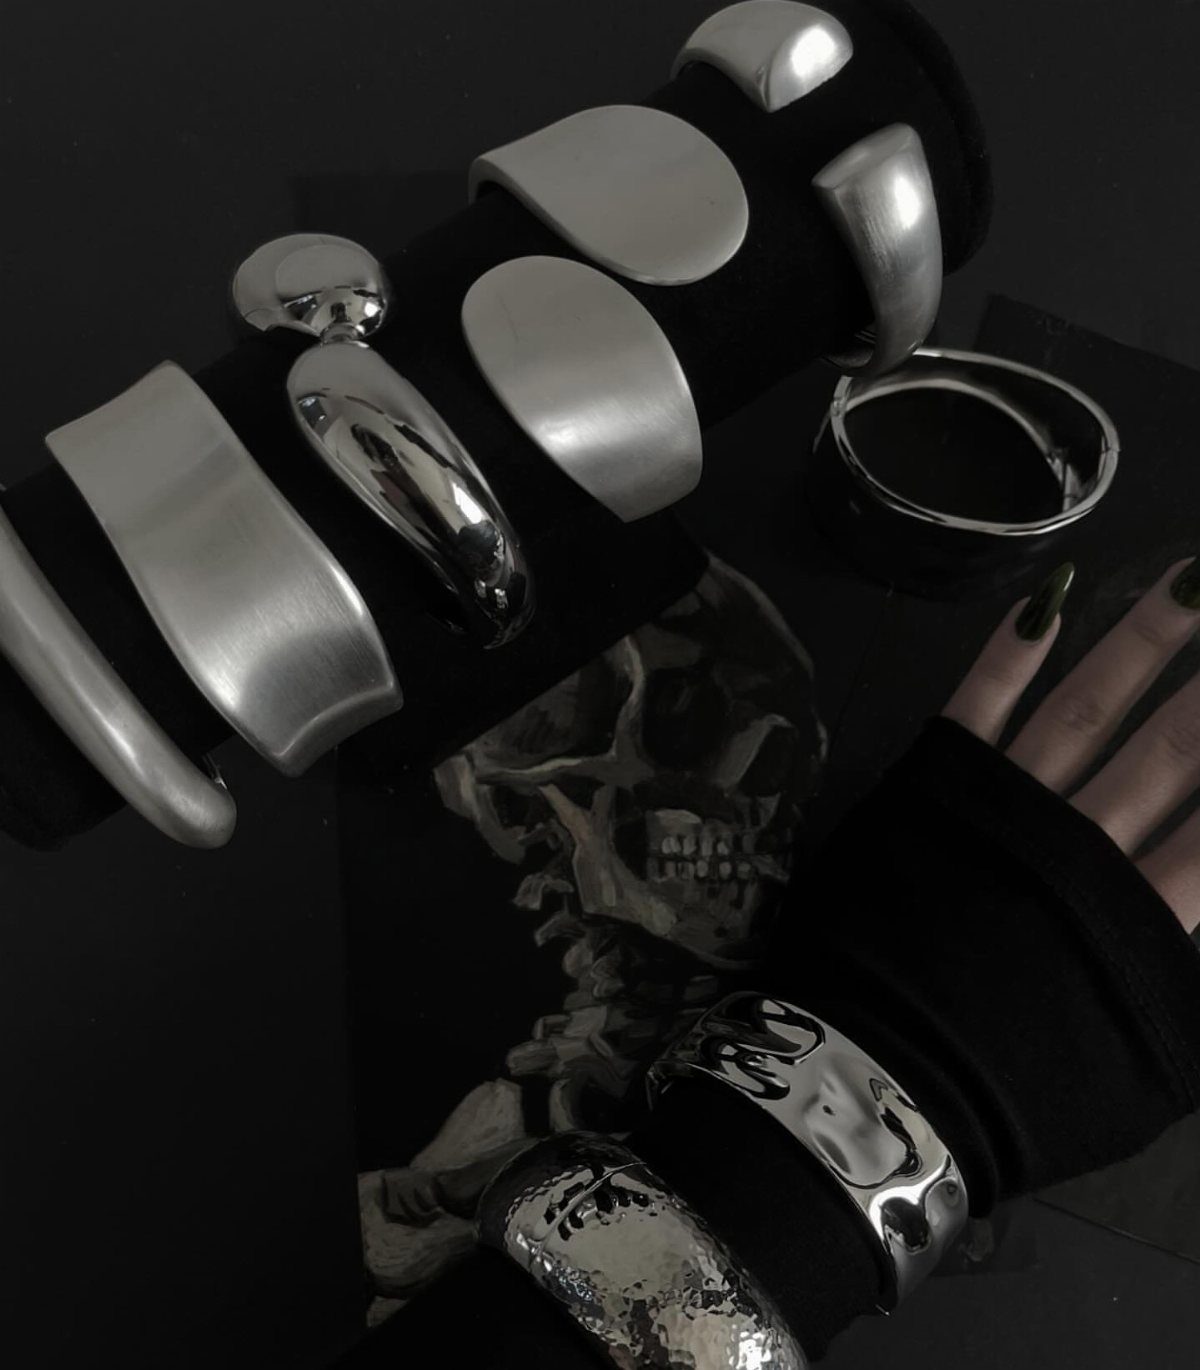
The skull artwork in the background signals the audience: this style reads rock-and-roll, not delicate, and the weight of each piece backs that up.
Flat or domed wire and solder are the materials; a torch is the tool that separates this from cold-connection projects.
The first bangle teaches how heat moves through metal, how solder flows toward the flame, and how quickly a piece can turn from work to scrap if you overheat.
The video tutorial paces the sequence: measure, form, flux, heat, quench, pickle, finish.
This is the entry point to metalsmithing for a reason. A bangle has no clasp to engineer, no stone to set, no exact size to hit; it either fits over your hand or it doesn’t.
I’d make 3 in an afternoon, expect the first to be lumpy, and wear the best one while I filed the others smooth.
7. Make Post Earrings
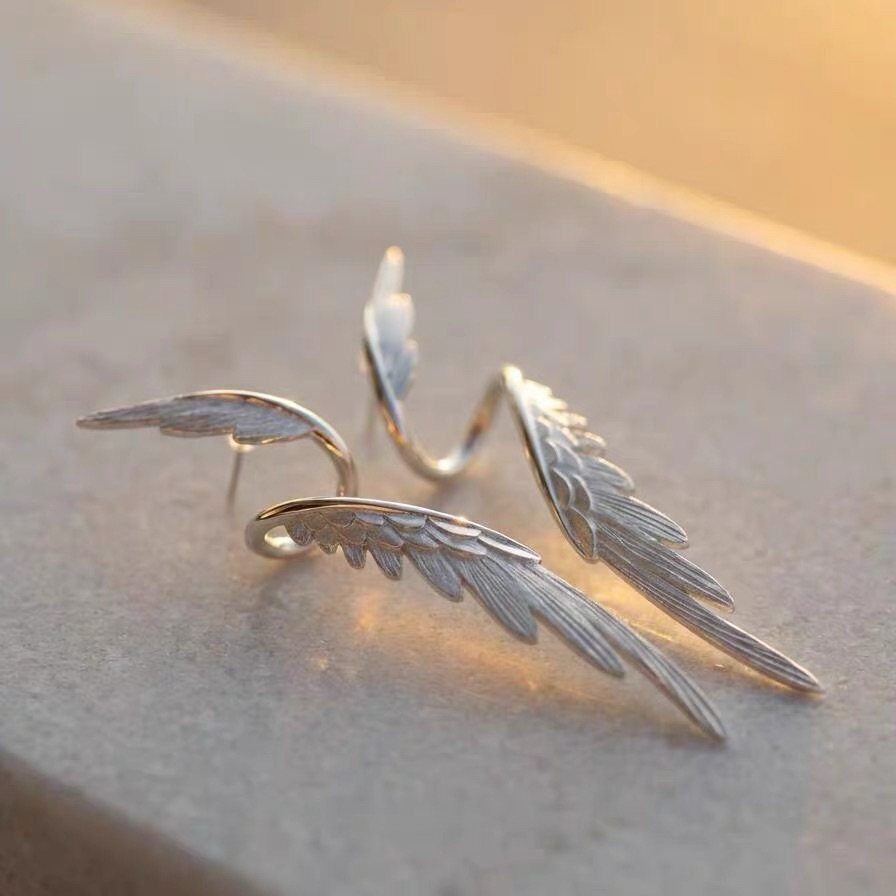
Post earrings stay put. A straight post with a friction back or butterfly clutch keeps the earring vertical and close to the lobe, which matters for small, detailed shapes like feathered wings.
Soldering the post takes a torch, flux, and solder, but the joint itself is quick once the metal is clean and the post sits flush.
I would practice on copper first; silver posts are cheap enough that ruining a few still keeps the project reasonable in materials.
The real limit is weight. Anything heavier than a nickel will pull forward and sag.
These suit small designs in thin gauge metal, not drops or dangles.
8. Mixed Metal Jewelry Stacks
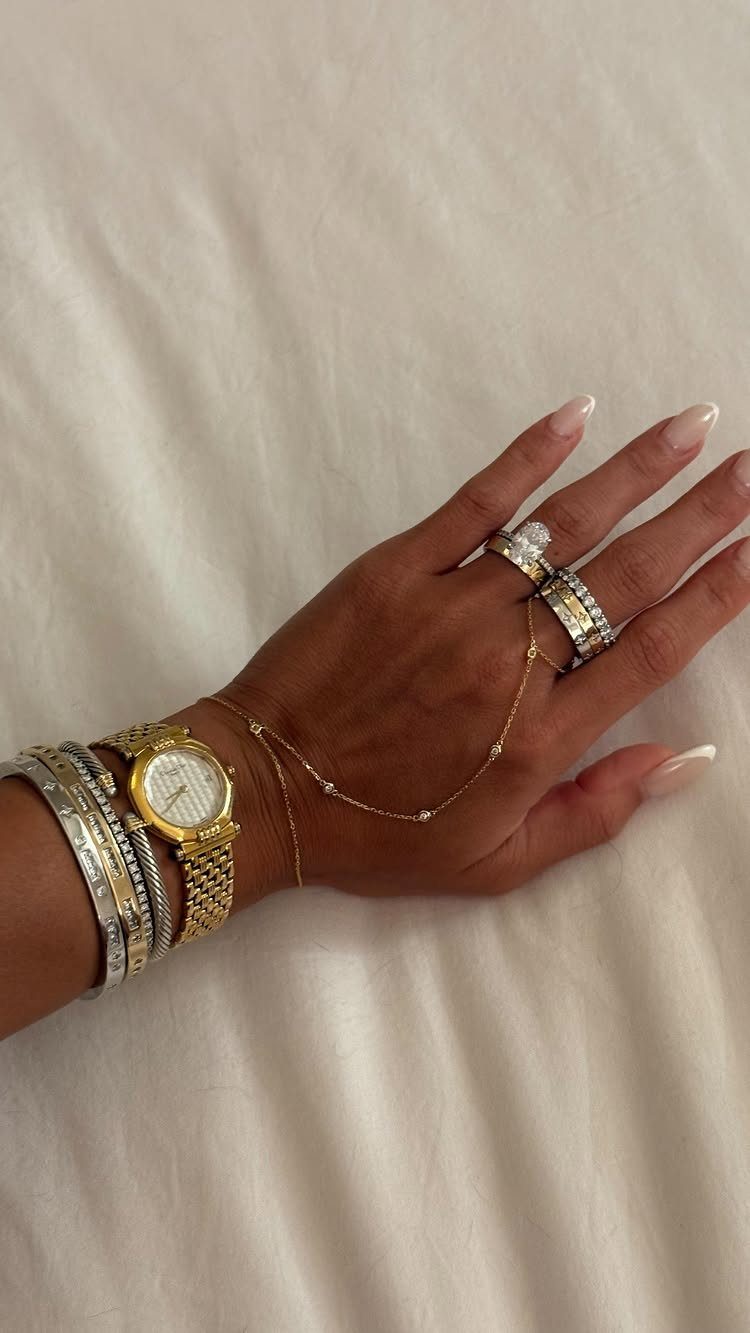
Gold against silver, or either against rose gold, works because the contrast draws the eye to where the metals touch. A gold watch stacked with silver chains and mixed rings keeps the eye moving because nothing matches perfectly.
I start with one dominant metal taking up most of the stack, and let the other two fight for the rest. Two tones is easier; three takes restraint or it reads as accident.
A delicate gold hand chain is the kind of piece that bridges silver and rose gold without demanding attention.
Cost helps here. Silver chains and gold-plated accents let you test the look before committing to solid gold.
Plated pieces need more care and sooner replacement, so that is the cost of mixing cheaper metals in.
Care for Jewelry
A drop of mild soap in warm water and a soft-bristled brush handles most routine cleaning for metal jewelry at home.
I dry each piece with a soft cloth afterward; the cloth itself removes the oils and fingerprints that dull the surface between washes.
Gold is softer than it looks. Chlorine and household cleaners will abrade it over time, so I take rings off before cleaning or swimming.
Soft cloth bags or the original boxes keep pieces from rubbing against harder items that would scratch them.
Silver tarnishes in open air. A cloth made for jewelry polishing lifts that surface layer without needing liquid.
For pieces I wear daily, I clean them when they stop catching light the way they did new.
I take mine in for professional cleaning 3 or 4 times a year; that is when someone else can check whether prongs still grip and clasps still catch.
I’d rather pay for that than lose a stone to a setting I did not notice had loosened.
Tips for Mixing Metals
Each metal needs to show up at least twice. A single gold ring lost among silver reads as an afterthought; two gold pieces, even small ones, start to look like a decision.
Texture does more than color. A hammered silver band and a smooth gold one relate through shape even when the finishes differ.
I use that when I want two metals to talk to each other without matching.
A two-tone piece, something built with both metals already in it, bridges the gap where my own collection does not. Layer at different lengths so the eye travels rather than landing on one clash.
Mixed Metal Popularity
Mixed metal jewelry has become common because the old rule about matching has simply stopped being enforced.
The shift tracks a broader move toward personal style over prescribed trends. Where earlier decades demanded a matched set, current wearing treats jewelry as accumulated and individual.
Pieces collected at different times, in different metals, layer together because they are yours, not because they were bought as a suite.
This freedom carries a practical side. A wearer with mostly silver can add one gold piece without replacing everything.
The cost of entry stays lower when you are not locked into a single metal for every new addition.
Frequently Asked Questions
What is the hottest jewelry trend right now?
Mixed metal stacks are the clearest trend in jewelry right now.
What are some cool things I can make with metal?
You can make stacking rings, beaded wire hoop earrings, beaded bracelets, cuff bracelets, personalized stamped jewelry, bangle bracelets, post earrings, and mixed metal stacks.
Cuff bracelets and bangles move you into torch work and soldering; stamped jewelry lets you put words or dates onto rings with steel stamps and a hammer.
What metals make good jewelry?
Gold, silver, platinum, stainless steel, and titanium are common choices. Stainless steel resembles platinum while staying stronger and resisting rust; it is also hypoallergenic for sensitive skin.
Gold and silver are the standard choices, with copper as practice material before moving to precious metals.
How do you mix metal jewelry?
Start with one dominant metal taking up most of the stack, and let the other tones fill in smaller pieces.
Is it okay to mix metals when wearing jewelry?
Yes. Combining gold, silver, and other tones is now seen as bold and modern rather than a mistake.